
4.2
Owner's of the Amana Range AGG222VDW gave it a score of 4.2 out of 5. Here's how the scores stacked up:


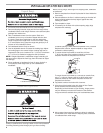
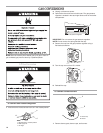

Before moving range, slide range onto shipping base, cardboard
or hardboard.
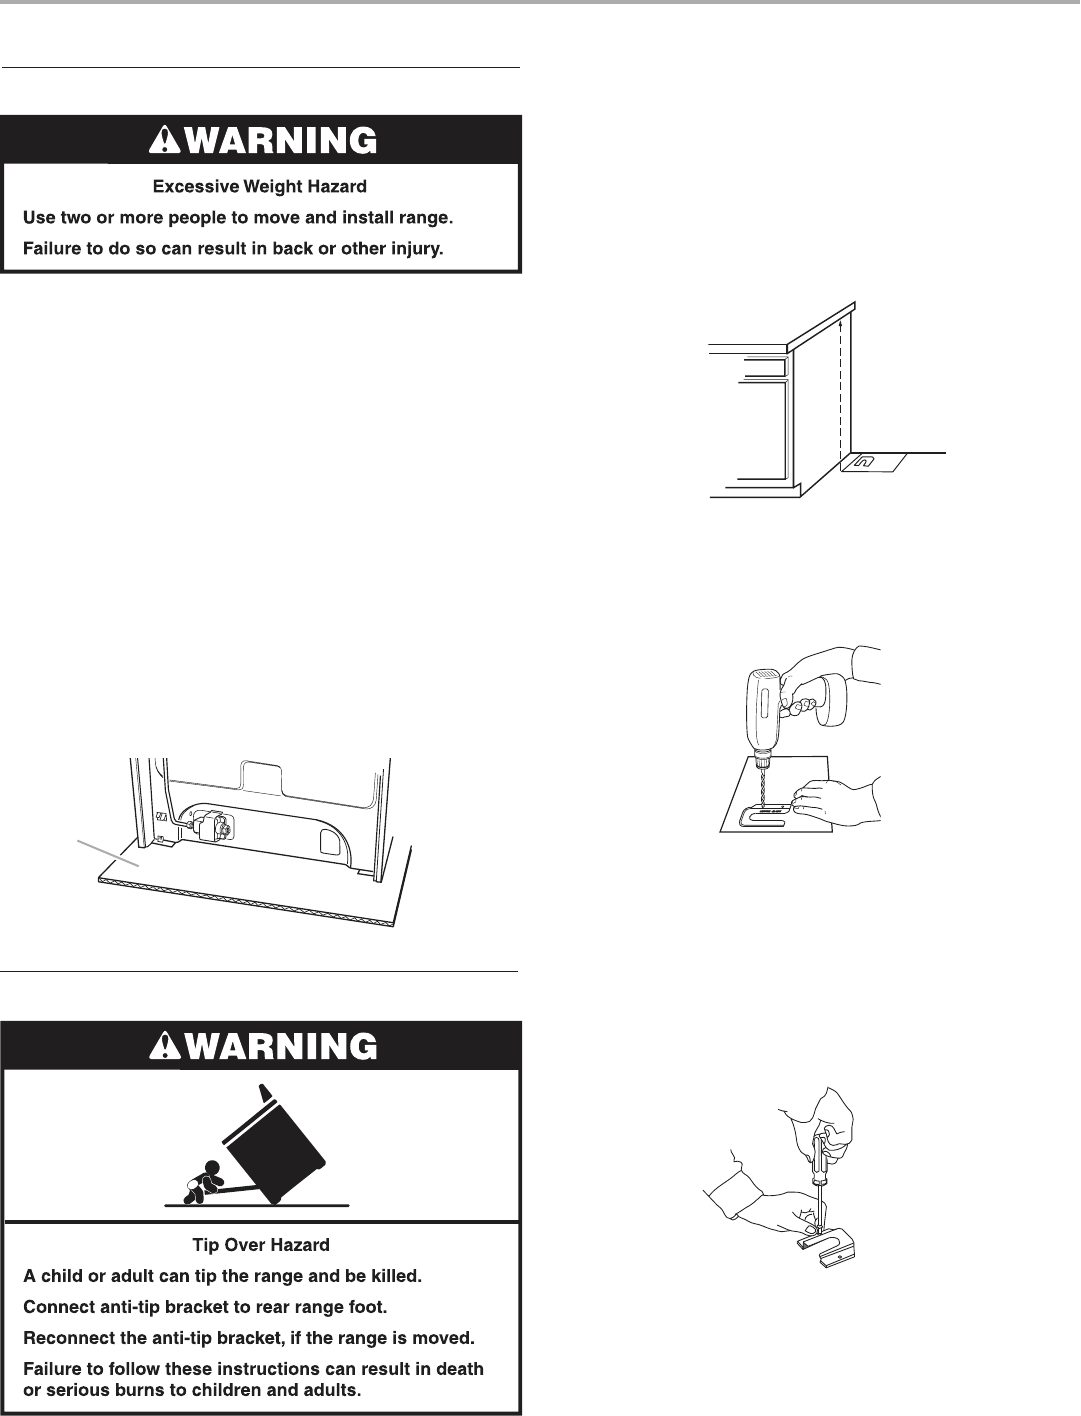
1. Remove template from the anti-tip bracket kit found inside the
oven cavity.
2. Place template on the floor in cabinet opening so that the left
edge is against cabinet and top edge is against rear wall,
molding or cabinet.
3. Tape template in place.
4. If countertop is not flush with cabinet opening edge, align
template with overhang.
If cabinet opening is wider than that specified in the “Location
Requirements” section, adjust template so range will be
centered in cabinet opening.
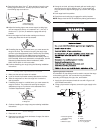
5. To mount the anti-tip bracket to wood floor, drill two
1
⁄8" (0.32 cm) holes at the positions marked on the bracket
template. Remove the template from the floor.
To mount the anti-tip bracket to a concrete or ceramic floor,
use a
3
⁄16" (4.8 mm) masonry drill bit to drill 2 holes at the
positions marked on the bracket template. Remove the
template from the floor.
6. Tap plastic anchors into holes with a hammer.
7. Align the anti-tip bracket holes with holes in floor. Fasten
anti-tip bracket with the screws provided.
Depending on the thickness of your flooring, longer screws
may be necessary to anchor the bracket to the subfloor.
Longer screws are available from your local hardware store.
8. Move range close enough to opening to allow for electrical
connections to be made. Remove shipping base, cardboard
or hardboard from under range.
8
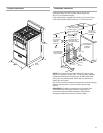
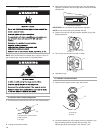
INSTALLATION INSTRUCTIONS
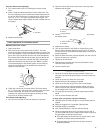
Unpack Range
1. Do not use oven door handle to lift or move the range.
2. Remove shipping materials, tape and film from range. Keep
cardboard bottom under range. Remove oven racks and parts
package from inside oven.
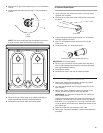
3. Take 4 cardboard corners from the carton. Stack one
cardboard corner on top of another. Repeat with the other
2 corners. Place them lengthwise on the floor behind the
range to support the range when it is laid on its back. Using
2 or more people, firmly grasp the range and gently lay it on
its back on the cardboard corners.
4. Pull cardboard bottom firmly to remove.
5. Use an adjustable wrench to loosen the leveling legs. Adjust
the leveling legs to the correct height. Leveling legs can be
loosened to add up to a maximum of 1" (2.5 cm). A maximum
of
3
⁄16" (0.5 cm) is needed to engage the anti-tip bracket.
NOTE: If height adjustment is made when range is standing, tilt
the range back to adjust the front legs, then tilt forward to adjust
the rear legs.
6. Place cardboard or hardboard in front of range. Using 2 or
more people, stand range back up onto cardboard or
hardboard.
A
Install Anti-Tip Bracket
Contact a qualified floor covering installer for the best procedure
for drilling mounting holes through your type floor covering.
A. Cardboard shipping base


Find Your Products By Category
- Lawn and Garden
- Computer Equipment
- TV and Video
- Laundry Appliance
- Kitchen Appliance
- Car Audio and Video
- Automotive
- Photography
- Fitness & Sports
- Personal Care
- Communications
- Home Audio
- Portable Media
- Musical Instruments & Equipment
- Baby
- Household Appliance
- Cell Phone
- Marine Equipment
- Outdoor Cooking
- Power Tools
- Video Game
Please Login
