
0
Owner's of the Logitech Universal Remote HARMONY650N gave it a score of 0 out of 5. Here's how the scores stacked up:

9
LOGITECH HARMONY 650 USER MANUAL
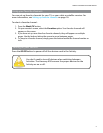
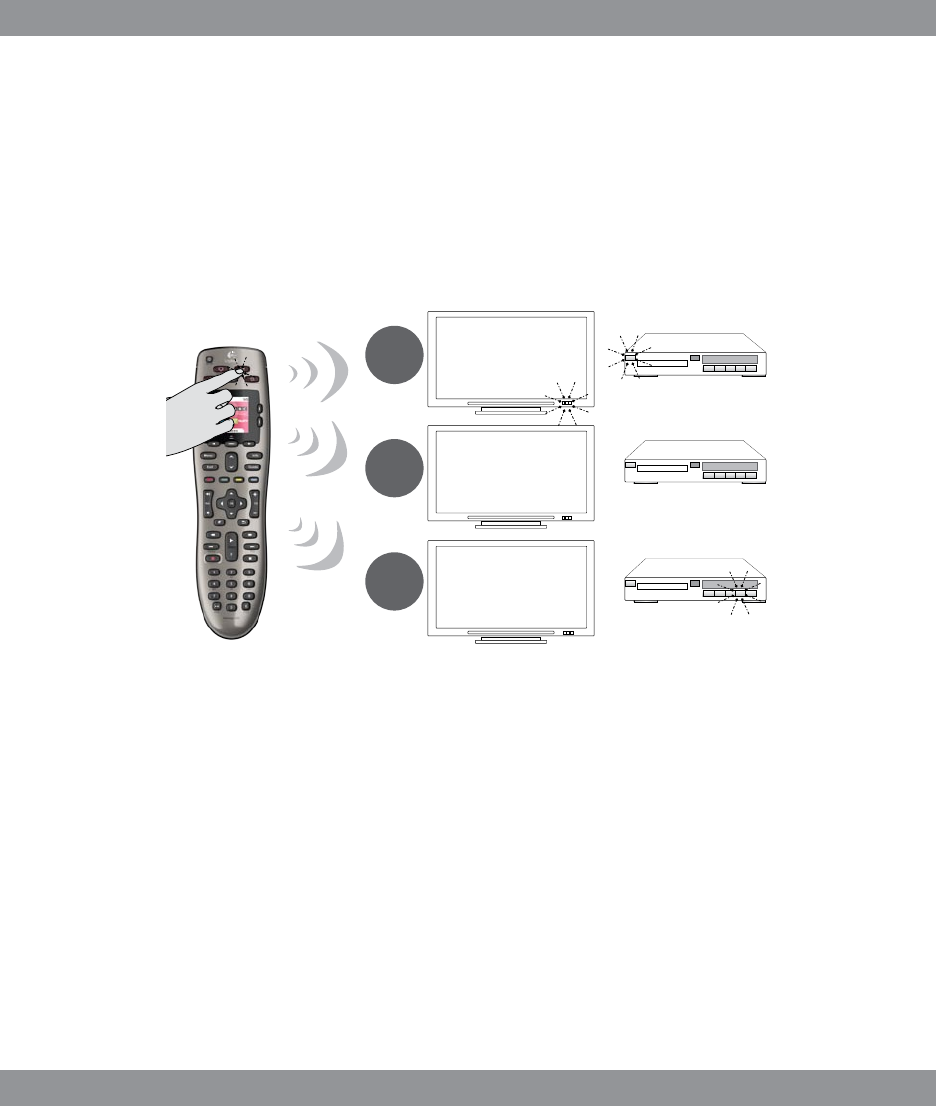
4. Setting up Activities
After you have nished identifying your devices, you can start setting up your
Activities. An Activity is something you do with your entertainment system, like
watching TV, listening to music, or playing a game.
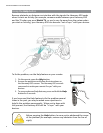
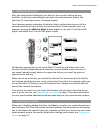
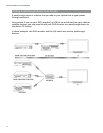
Your Harmony remote automates Activities so that a single button turns on all the
necessary devices for each Activity, and switches them to the required inputs. For
example, pressing the Watch a Movie button might turn on your TV and your DVD
player, and switch the TV to the DVD player’s input.
My Harmony prompts you to set up the Watch TV activity, and allows you to set
up other Activities (depending on the devices you have added to your account). If
you haven’t added enough devices to support an Activity, you won’t be given an
opportunity to add any.
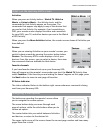
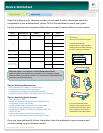
When you set up an Activity, you choose the devices that are involved in the Activity,
and indicate which devices you use to control which functions. For example, when you
set up the Watch TV Activity, you pick the device that changes the channels and the
device that controls the volume.
If the device has more than one input, My Harmony asks you which input the device
uses. If you’re not sure, see Determining your inputs on page 10 for more information.
You may also be asked additional questions depending on your entertainment system.
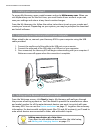
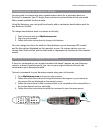
5. Updating the remote
When you’re nishing adding Activities, click Sync to transfer your setup information to
your Harmony 650. After the remote has been updated, the setup process will prompt
you to disconnect the remote from your computer and test your remote on your home
entertainment system. For specic details about testing your remote, see Testing your
remote on page 12.
HDMI 1
PLAY
--:-- --:--
0:00 0:00
0:00 1:10
1
2
3


Find Your Products By Category
- Lawn and Garden
- Computer Equipment
- TV and Video
- Laundry Appliance
- Kitchen Appliance
- Car Audio and Video
- Automotive
- Photography
- Fitness & Sports
- Personal Care
- Communications
- Home Audio
- Portable Media
- Musical Instruments & Equipment
- Baby
- Household Appliance
- Cell Phone
- Marine Equipment
- Outdoor Cooking
- Power Tools
- Video Game
Please Login
