
0
Owner's of the Canon Digital Camera Canon PowerShot Camera gave it a score of 0 out of 5. Here's how the scores stacked up:


43
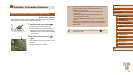
Before Use
Basic Guide
Advanced Guide
1
Camera Basics
2
Auto Mode /
Hybrid Auto Mode
3
Other Shooting Modes
4
P Mode
6
Playback Mode
5
Tv, Av, and M Mode
7
Setting Menu
8
Accessories
9
Appendix
Index
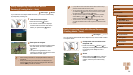
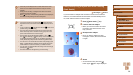
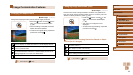
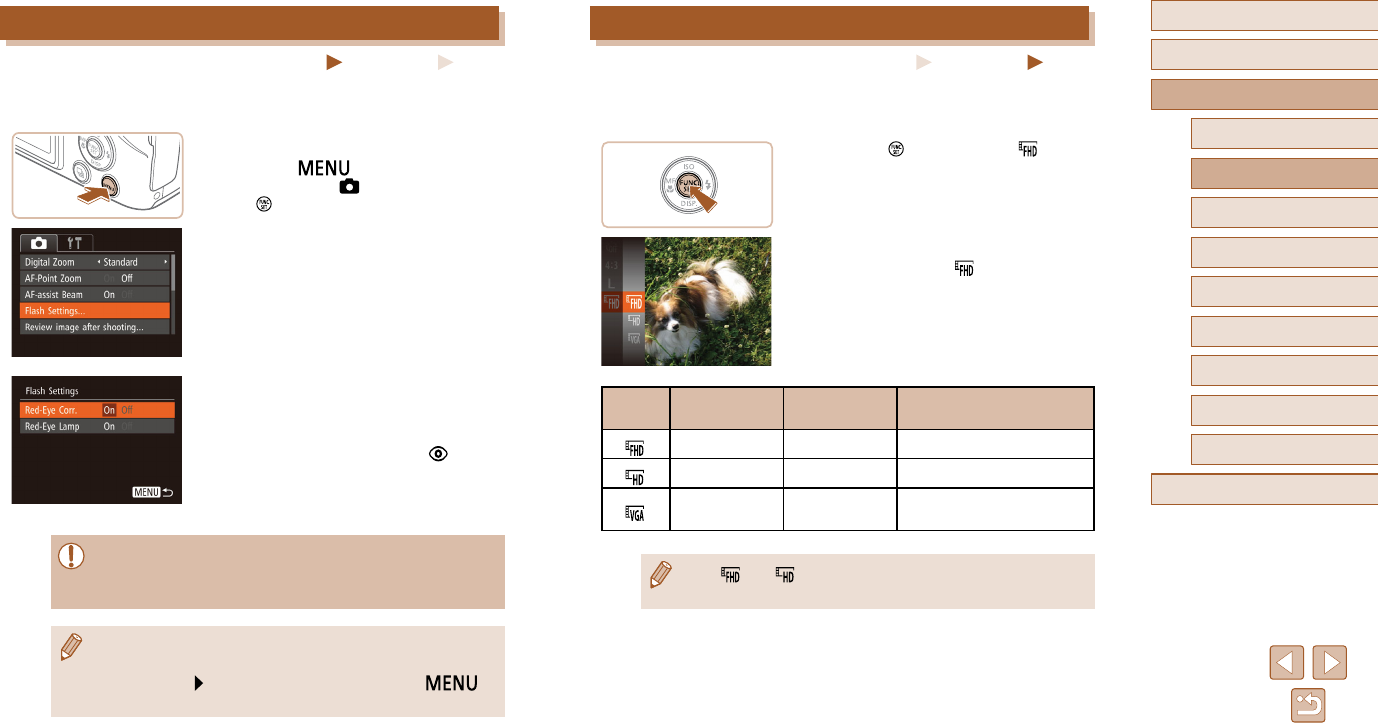
Changing Movie Image Quality
Still Images
Movies
3 image quality settings are available. For guidelines on the maximum
movie length at each level of image quality that will fit on a memory card,
see “Recording Time per Memory Card” (
=
135).
● Press the [
] button, choose [ ] in the
menu, and choose the desired option
(
=
26).
● The option you configured is now
displayed.
● To restore the original setting, repeat this
process but choose [ ].
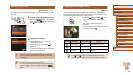
Image
Quality
Resolution Frame Rate Details
1920 x 1080 30 fps For shooting in Full HD
1280 x 720 30 fps For shooting in HD
640 x 480 30 fps
For shooting in standard
definition
● In [ ] and [ ] modes, black bars displayed on the top and
bottom edges of the screen indicate image areas not recorded.
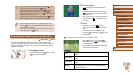
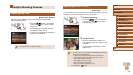
Red-Eye Correction
Still Images
Movies
Red-eye that occurs in flash photography can be automatically corrected
as follows.
1
Access the [Flash Settings] screen.
● Press the [ ] button, choose [Flash
Settings] on the [ ] tab, and then press
the [ ] button (
=
27).
2
Configure the setting.
● Choose [Red-Eye Corr.], and then
choose [On] (
=
27).
● Once the setting is complete, [
] is
displayed.
● To restore the original setting, repeat this
process but choose [Off].
● Red-eye correction may be applied to image areas other than
eyes (if the camera misinterprets red eye makeup as red pupils,
for example).
● You can also correct existing images (
=
91).
● You can also access the screen in step 2 when the flash is up by
pressing the [
] button and immediately pressing the [ ]
button.


Find Your Products By Category
- Lawn and Garden
- Computer Equipment
- TV and Video
- Laundry Appliance
- Kitchen Appliance
- Car Audio and Video
- Automotive
- Photography
- Fitness & Sports
- Personal Care
- Communications
- Home Audio
- Portable Media
- Musical Instruments & Equipment
- Baby
- Household Appliance
- Cell Phone
- Marine Equipment
- Outdoor Cooking
- Power Tools
- Video Game
Please Login
