

0
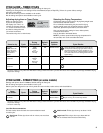
Owner's of the Maytag Clothes Dryer Maytag Electric Dryer gave it a score of 0 out of 5. Here's how the scores stacked up:


12
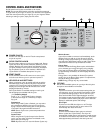
ADDITIONAL FEATURES
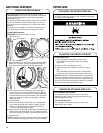
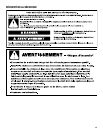
2. Align the two hooks on the front of the drying rack with the
holes in the dryer door opening and press down fully into
holes. Rest the rear support on the dryer back ledge.
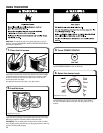
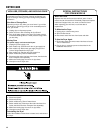
USING THE DRYING RACK
To purchase a drying rack for your dryer, order by calling
1-877-944-7566. You will need your model and serial number
and the purchase date. Remove and discard any packing
material before use.
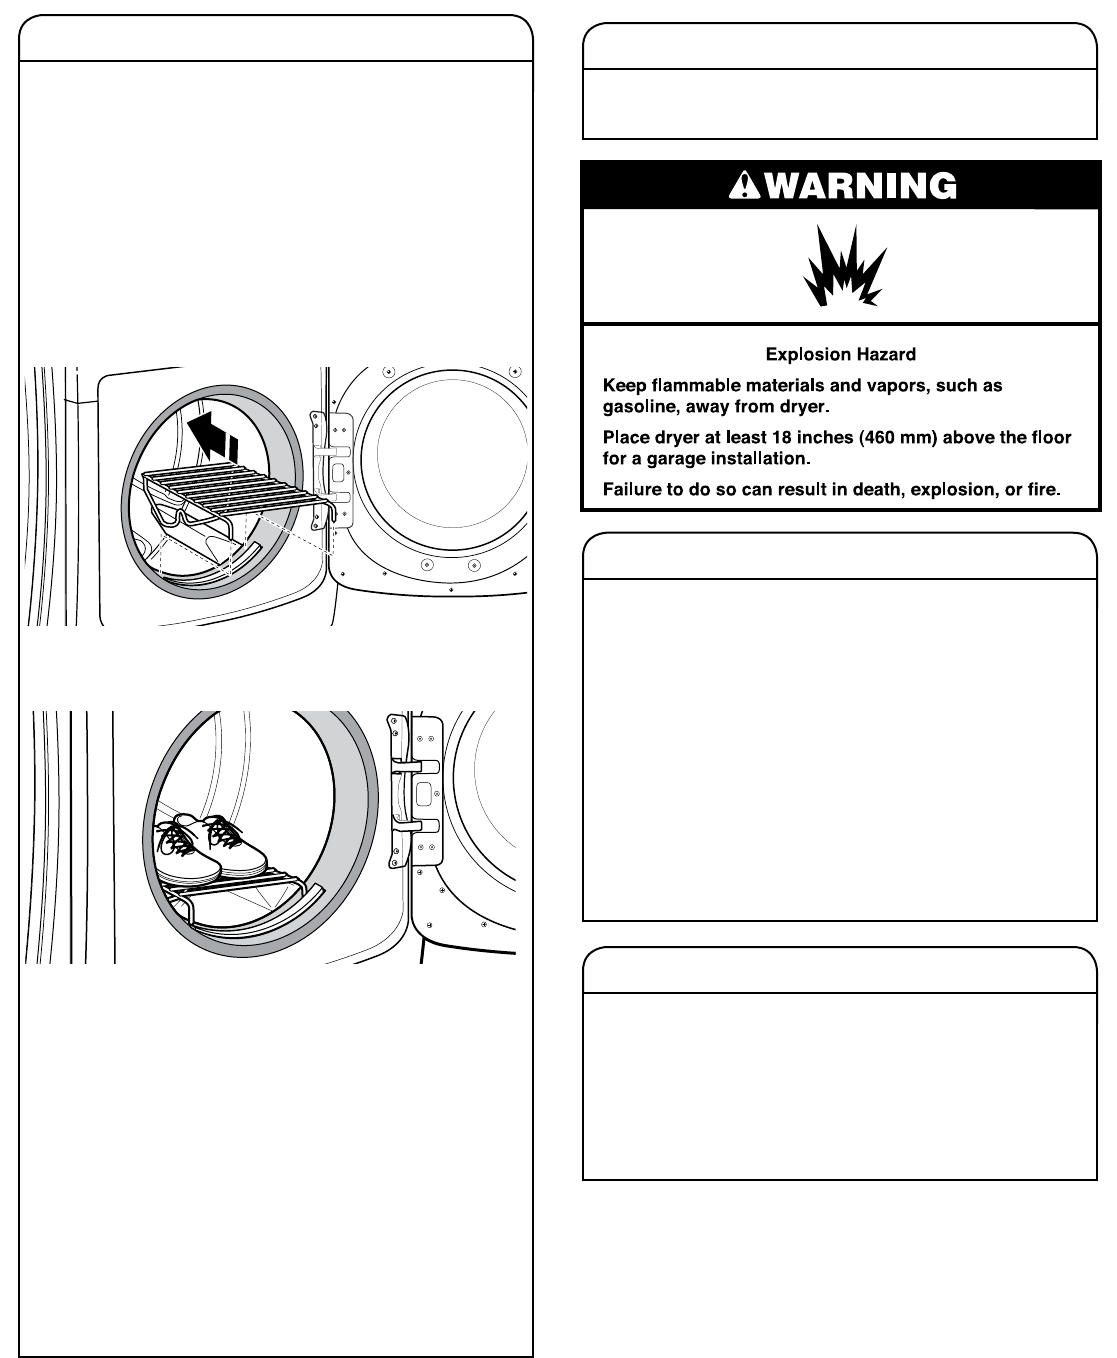
Use the Drying Rack for items that you do not want to tumble
dry, such as sweaters and tennis shoes. When you use the
drying rack, the drum continues to turn, but the rack remains
stationary.
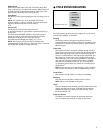
The drying rack is intended for use with the Timed Dry cycle
only. The drying rack cannot be used with Sensor cycles.
To use the drying rack:
IMPORTANT: Do not remove the lint screen.
1. Open dryer door.
3. Place wet items on top of the drying rack. Allow space
around items for air to circulate. The drying rack does not
move, but the drum will rotate; be sure to leave adequate
clearance between items and the inside of the dryer drum.
Make sure items do not hang over the edges or between
drying rack grille.
4. Close the door.
5. Select a Timed Dry/Air Only/Air Dry, or Low Temperature
cycle. Items containing foam, rubber, or plastic must be
dried on a clothesline or by using the Air Only setting
or Air Dry cycle, depending on model.
6. When the cycle is selected, the Estimated Time Remaining
display shows the default time. You can change the actual
time in the cycle by increasing or decreasing the cycle time.
7. Start the dryer.
NOTE: Check the lint screen and remove any lint accumulated
from items dried on the drying rack after the cycle is finished.
DRYER CARE
CLEANING THE DRYER LOCATION
Keep dryer area clear and free from items that would block the
air flow for proper dryer operation. This includes clearing piles
of laundry in front of the dryer.
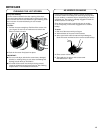
CLEANING THE DRYER INTERIOR
To clean dryer drum
1. Use a mild hand dish detergent mixed at a low
concentration with very warm water, and rub with
a soft cloth.
2. Rinse well with a wet sponge or towel.
3. Tumble a load of clean clothes or towels to dry drum
OR
Use a microfiber cloth and hot water in a spray bottle
to clean the drum and a second microfiber towel to dry.
NOTE: Garments that contain unstable dyes, such as denim
blue jeans or brightly colored cotton items, may discolor the
rear of the dryer interior. These stains are not harmful to your
dryer and will not stain future loads of clothes. Dry unstable
dye items inside out to avoid transfer of dye.
REMOVING ACCUMULATED LINT
From Inside the Dryer Cabinet
Lint should be removed every 2 years, or more often,
depending on dryer usage. Cleaning should be done by a
qualified appliance servicer.
From the Exhaust Vent
Lint should be removed every 2 years, or more often,
depending on dryer usage.


Find Your Products By Category
- Lawn and Garden
- Computer Equipment
- TV and Video
- Laundry Appliance
- Kitchen Appliance
- Car Audio and Video
- Automotive
- Photography
- Fitness & Sports
- Personal Care
- Communications
- Home Audio
- Portable Media
- Musical Instruments & Equipment
- Baby
- Household Appliance
- Cell Phone
- Marine Equipment
- Outdoor Cooking
- Power Tools
- Video Game
Please Login
