

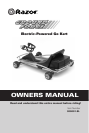
0
Owner's of the Razor Automobile ELECTRIC-POWERED GO KART gave it a score of 0 out of 5. Here's how the scores stacked up:
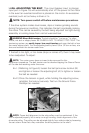
WARNING: Failing to properly adjust and tighten the screws, nuts and bolts
that affix the steering wheel and seat can cause you to lose control and c
rash.
TOOLS REQUIRED FOR ASSEMBLY
• 5 mm hex key wrenches
• 10 mm box wrench (spanner)
• Razor recommends assembly by
an adult with experience in mechanics
Some tools may be supplied, however
we recommend the use of mechanic’s
grade tools. Use the supplied tools
only as a last resort.
2. PREPARING FOR FIRST-TIME USE
❏ 2A. Un-box. Remove contents from box. Remove the foam
separators that protect the various components from damage during
shipping. Inspect the contents of the box for scratches in the paint,
dents or kinked cables that may have occurred during shipping. The
Ground Force was 99% assembled and packed at the factory to prevent
shipping damage and there should not be any problems, even if the box
has a few scars or dents. But if there are, contact Razor USA, toll free,
at (866) 467-2967 to resolve any problems.
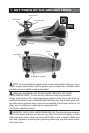
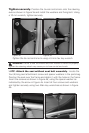
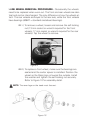
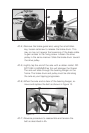
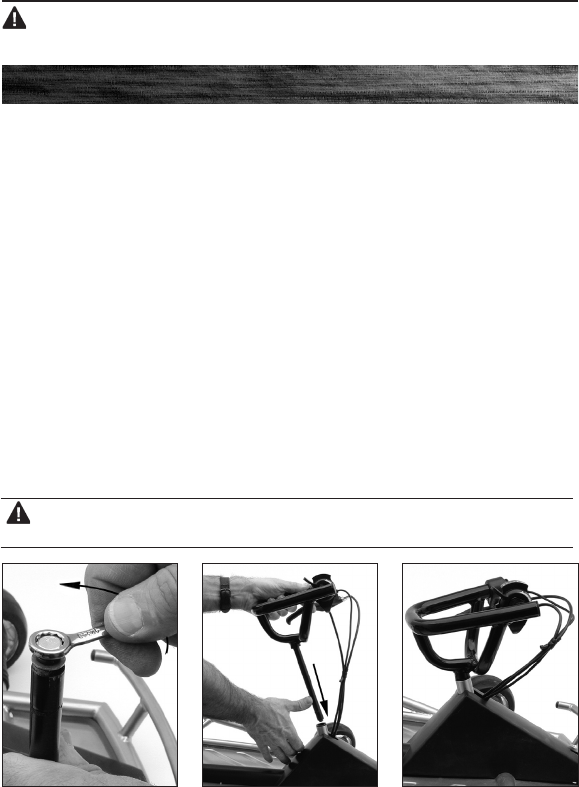
❏ 2B. Steering wheel. Remove the bolt and washers at the end of
the steering axle as shown in Figure 2a. Untangle the wires and orient
as shown in Figure 2b. Insert steering axle into steering column as
shown in Figures 2b and 2c.
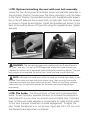
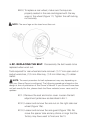
Carefully turn the Ground Force on it’s side. We recommen
d that you
have someone hold the Ground Force up or, alternately, you can lean it
against a wall for the installation of the tie-rod to the steering axle.
WARNING: Flipping the Ground Force upside down is not recommended as
it could damage the control wires from the steering wheel.
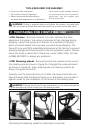
Positioning the steering wheel for attachment to tie-rods.
Figure 2a Figure 2b Figure 2c


Find Your Products By Category
- Lawn and Garden
- Computer Equipment
- TV and Video
- Laundry Appliance
- Kitchen Appliance
- Car Audio and Video
- Automotive
- Photography
- Fitness & Sports
- Personal Care
- Communications
- Home Audio
- Portable Media
- Musical Instruments & Equipment
- Baby
- Household Appliance
- Cell Phone
- Marine Equipment
- Outdoor Cooking
- Power Tools
- Video Game
Please Login
