
0
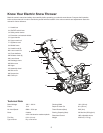
Owner's of the Snow Joe Snow Blower 18-INCH 13-AMP ELECTRIC SNOW THROWER gave it a score of 0 out of 5. Here's how the scores stacked up:

10
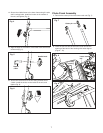
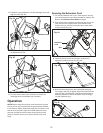
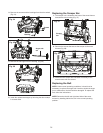
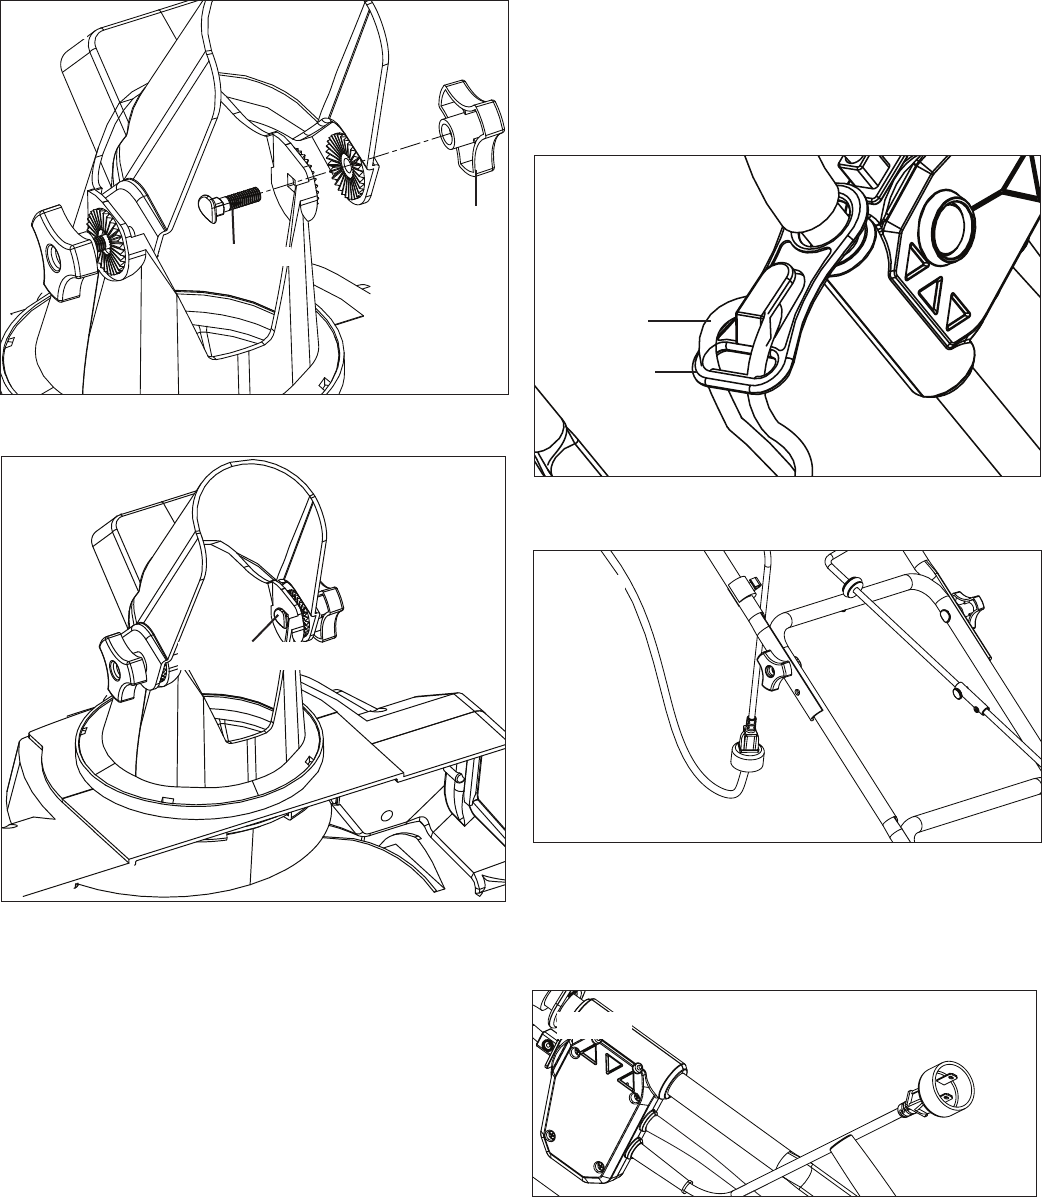
3. Position the chute deector over the discharge chute and
align the holes (Fig. 22).
4. Secure the carriage bolts and knobs. Make sure the knobs
are tightened (Fig. 23).
5. Turn the chute control crank clockwise to ensure the
discharge chute and deector are in position.
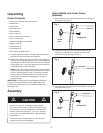
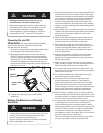
Operation
NOTE: Before using this machine, make sure that the power
source you will use complies with the specications detailed
in this manual. Before inserting the plug into the socket, verify
that the snow thrower’s auger and rubber plates are rmly
secured, and that the rubber plates are facing the correct
direction. Perform a test run to ensure that the rotor turns
freely.
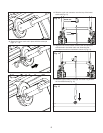
Securing the Extension Cord
1. For safe and ecient use of your snow thrower, use only
a UL-rated extension cord recommended for outdoor use.
Refer to the Extension Cord Chart on page 2.
2. Push a loop of the extension cord through the slot on the
cord lock from the opposite side of the restraint hook.
Position the loop over the hook and pull the cable back
through the slot (Fig. 24).
3. Insert the female end of the extension cord into the
appliance's polarized male plug (Fig. 25).
4. Note that the snow thrower has a polarized male plug –
one prong in the plug is slightly longer and wider than the
other (Fig. 26). The extension cord female end should be
likewise polarized so that the extension cord ts snugly
into the appliance plug.
Fig. 22
Deectorknob
Carriage bolt
Fig. 23
Carriage bolt
Fig. 24
Extension
cord
Slot
Fig. 25
Fig. 26


Find Your Products By Category
- Lawn and Garden
- Computer Equipment
- TV and Video
- Laundry Appliance
- Kitchen Appliance
- Car Audio and Video
- Automotive
- Photography
- Fitness & Sports
- Personal Care
- Communications
- Home Audio
- Portable Media
- Musical Instruments & Equipment
- Baby
- Household Appliance
- Cell Phone
- Marine Equipment
- Outdoor Cooking
- Power Tools
- Video Game
Please Login
