

1.3
Owner's of the Canon Digital Camera 8407B001 gave it a score of 1.3 out of 5. Here's how the scores stacked up:
116
1
2
3
4
5
6
7
8
9
10
Cover
Before Use
Common Camera
Operations
Advanced Guide
Camera Basics
Auto Mode /
Hybrid Auto Mode
Other Shooting
Modes
Tv, Av, M, and
C Mode
Playback Mode
Wi-Fi Functions
Setting Menu
Accessories
Appendix
Index
Basic Guide
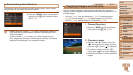
P Mode
Still Images Movies
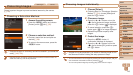
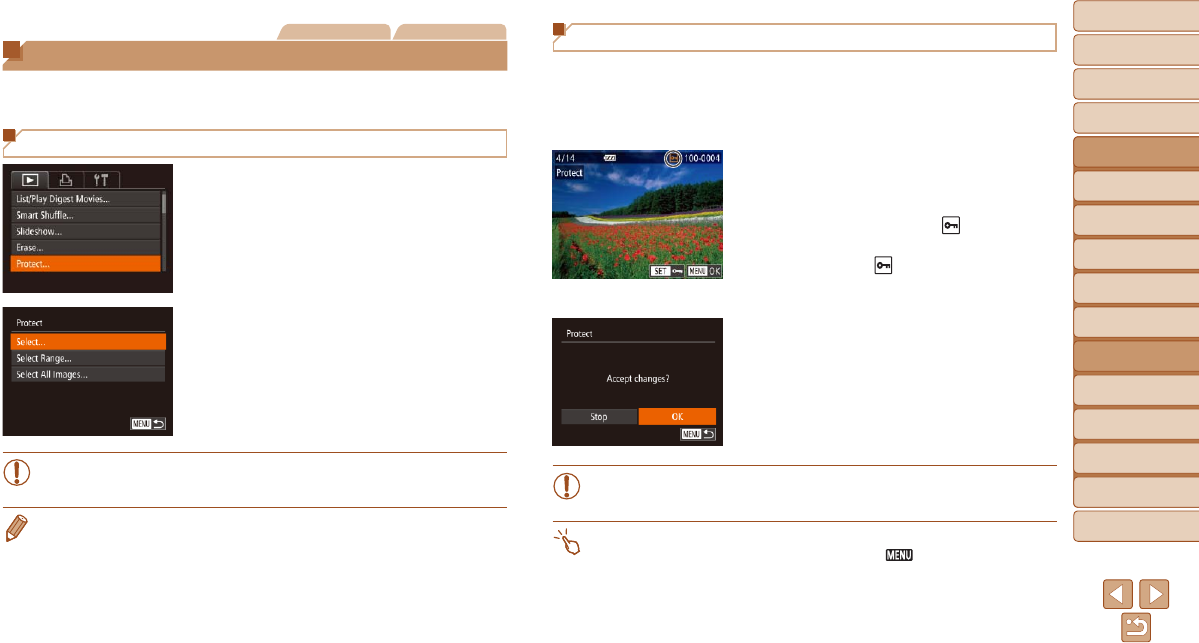
Protecting Images
Protect important images to prevent accidental erasure by the camera
(=
118).
Choosing a Selection Method
1 Access the setting screen.
Press the <n> button and choose
[Protect] on the [1] tab (=
25).
2 Choose a selection method.
Choose a menu item and an option as
desired (=
26).
To return to the menu screen, press the
<n> button.
•Protected images on a memory card will be erased if you format the
card (=
160, 161).
• Protected images cannot be erased using the camera’s erasure function. To
erasethemthisway,rstcancelprotection.
Choosing Images Individually
1 Choose [Select].
Following step 2 in “Choosing a Selection
Method” (=
116), choose [Select] and
press the <m> button.
2 Choose an image.
Press the <q><r> buttons or turn the
<7> dial to choose an image, and then
press the <m> button. [
] is displayed.
To cancel selection, press the <m>
button again. [
] is no longer displayed.
Repeat this process to specify other
images.
3 Protect the image.
Press the <n> button. A
conrmationmessageisdisplayed.
Press the <q><r> buttons or turn the
<7> dial to choose [OK], and then press
the <m> button.
•Images will not be protected if you switch to Shooting mode or turn
thecameraoffbeforenishingthesetupprocessinstep3.
• You can also select or clear images by touching the screen in step 2, and you
canaccesstheconrmationscreenbytouching[
].
• You can also protect images by touching [OK] on the screen in step 3.


Find Your Products By Category
- Lawn and Garden
- Computer Equipment
- TV and Video
- Laundry Appliance
- Kitchen Appliance
- Car Audio and Video
- Automotive
- Photography
- Fitness & Sports
- Personal Care
- Communications
- Home Audio
- Portable Media
- Musical Instruments & Equipment
- Baby
- Household Appliance
- Cell Phone
- Marine Equipment
- Outdoor Cooking
- Power Tools
- Video Game
Please Login
