
0
Owner's of the Razor Automobile Razor Automobile gave it a score of 0 out of 5. Here's how the scores stacked up:

4
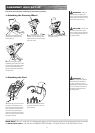
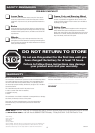
Turn power switch off before conducting any maintenance procedures.
1 To adjust the brake, thread the
adjuster in or out 1/4 to 1/2 turns
until the desired brake adjustment
is attained.
The brake lever is fitted with a cable adjuster to compensate for cable stretch and/or to fine tune the lever movement
to brake engagement.
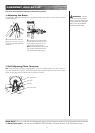
2 If the adjuster is threaded outward
and the brake still has too much slack,
use the auxiliary adjuster at the rear
brake for additional adjustments.
Note: When properly adjusted, the brake
lever will have approximately 3mm of
free play before the brake engages.
Need Help? Visit our web site for replacement parts, product support and a list of authorized service centers
at www.razor.com or call toll-free at 866-467-2967 Monday - Friday 8:00 AM - 5:00 PM Pacific Time.
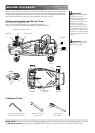
ASSEMBLY AND SET-UP
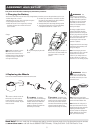
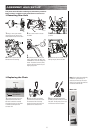
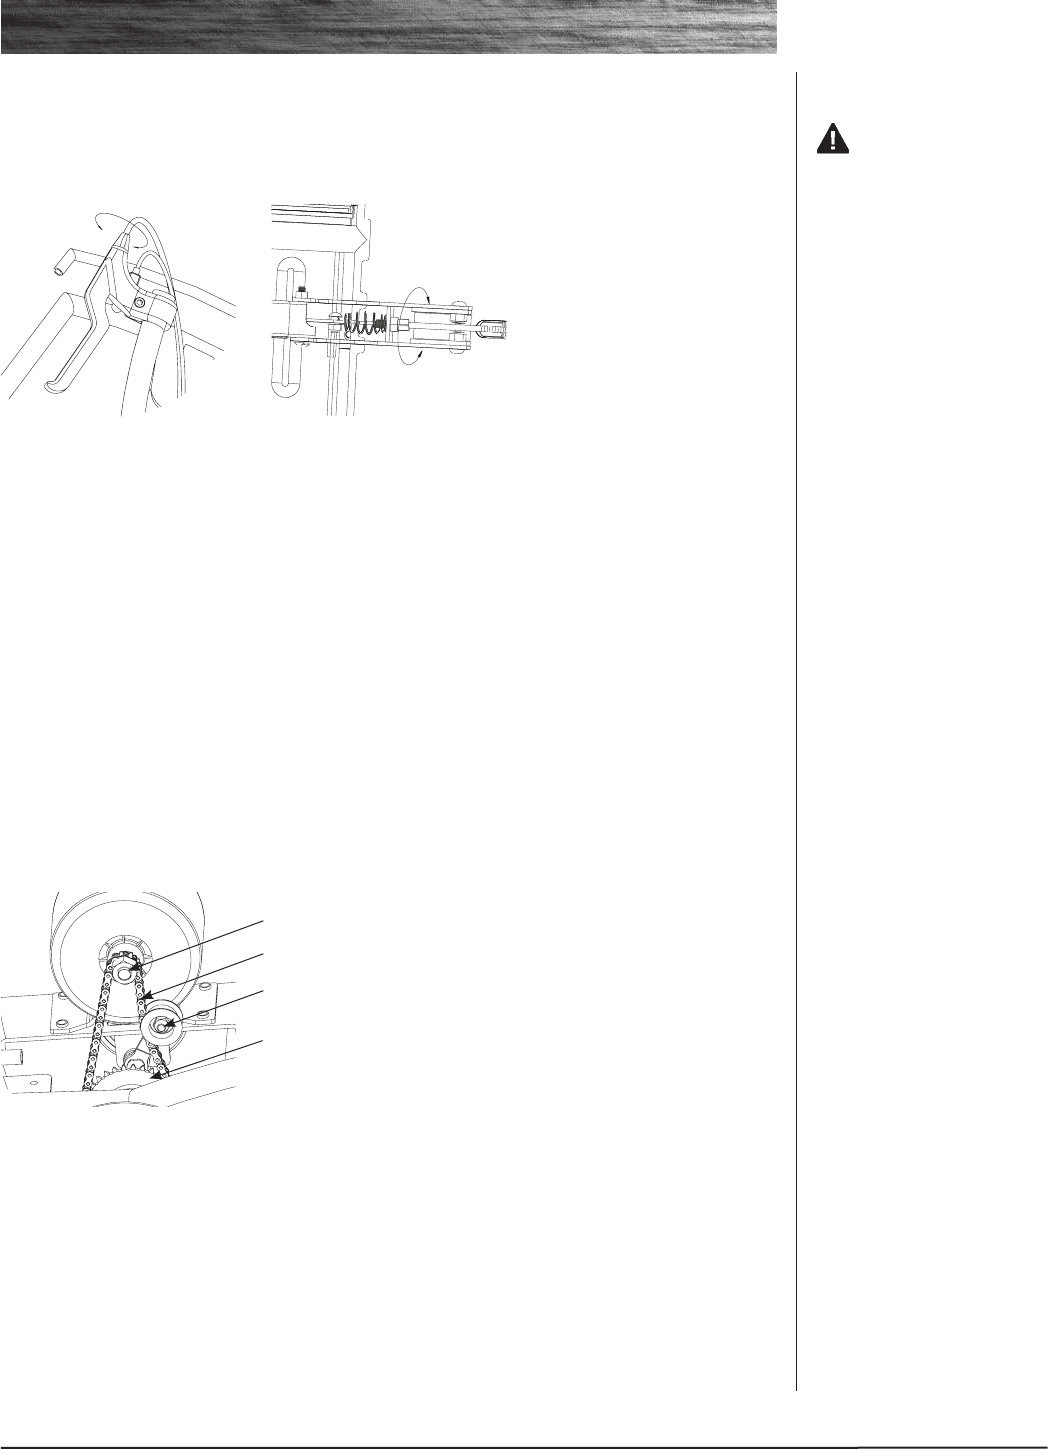
q Self Adjusting Chain Tensioner
q Adjusting the Brake
WARNING: Practice in
an open area free from obstacles
until you are familiar with the brake
function. DO NOT RUN OVER ANY
OBJECT AS IT COULD DAMAGE
THE BRAKE OR DRIVETRAIN.
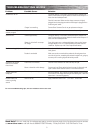
Note: Proper alignment of the chain must be maintained. If the chain is adjusted properly, but is noisy or rough run-
ning, check alignment of the sprockets. The drive-shaft sprocket can be adjusted slightly from side-to-side by loosen-
ing the set screw. Note that a key maintains the drive position to the shaft.
Motor shaft sprocket
Roller chain
Fixing bolt
Drive shaft sprocket


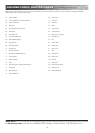
Find Your Products By Category
- Lawn and Garden
- Computer Equipment
- TV and Video
- Laundry Appliance
- Kitchen Appliance
- Car Audio and Video
- Automotive
- Photography
- Fitness & Sports
- Personal Care
- Communications
- Home Audio
- Portable Media
- Musical Instruments & Equipment
- Baby
- Household Appliance
- Cell Phone
- Marine Equipment
- Outdoor Cooking
- Power Tools
- Video Game
Please Login
