
4.2
Owner's of the Amana Range AGG222VDW gave it a score of 4.2 out of 5. Here's how the scores stacked up:

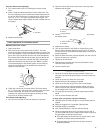
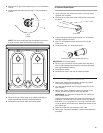

3. Remove the LP gas orifice spuds using a 7 mm combination
wrench.
4. Install Natural gas orifice spuds using a 7 mm combination
wrench.
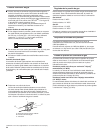
NOTE: This range is equipped with 2 standard burners and
2 super burners. Spud size/location remain the same.
5. Place the LP gas orifice spuds in the plastic parts bag for
future use and keep with bag containing literature.
6. Reinstall burners, burner caps and burner grates.
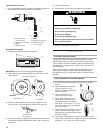
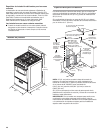
A
B
A. Spud
B. Holder
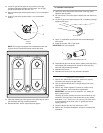
To Convert Oven Burner
1. Open oven door and remove oven racks, oven tray, flame
spreader and set aside.
2. Lift oven burner. The orifice spud is behind the oven burner
air shutter.
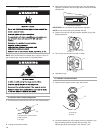
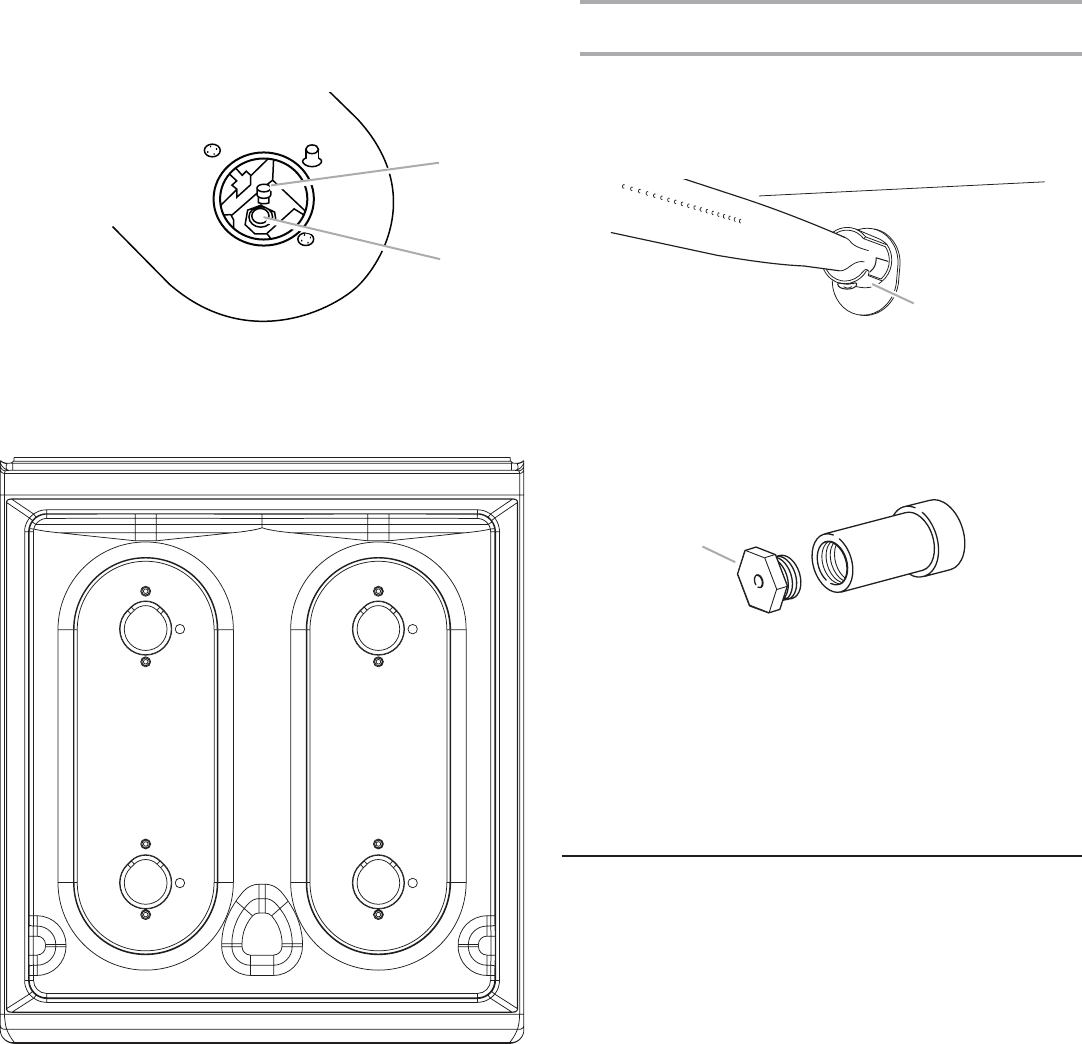
3. Locate natural gas orifice spud stamped “51” in literature
package supplied with range.
4. Use a
3
⁄8" combination wrench and remove the LP gas
orifice spud.
5. Install the number “51” Natural gas spud.
IMPORTANT: Do not over tighten.
6. Place LP gas oven burner spud in plastic parts bag along
with LP gas cooktop burner spuds for future use and keep
with bag containing literature.
7. Reinstall oven burner.
8. Reinstall oven racks, oven tray and flame spreader.
Complete Conversion
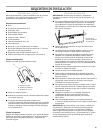
1. Refer to the “Make Gas Connection” section for properly
connecting the range to the gas supply.
2. Turn the manual shutoff valve in the gas supply line to the
open position.
3. Refer to the “Check Operation” section for proper burner
ignition, operation, and burner flame adjustments.
IMPORTANT: You may have to adjust the “LO” setting for
each cooktop burner.
Checking for proper cooktop and oven burner flames is very
important. The small inner cone should have a very distinct
blue flame
1
⁄4" to
1
⁄2" (0.64 cm to 1.3 cm long). The outer cone
is not as distinct as the inner cone. Natural gas flames do not
have yellow tips.
4. Close the broiler door and press the “OFF” pad.
5. Refer to the “Complete Installation” section to complete this
procedure.
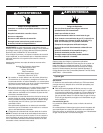
A
A. Air shutter
A
A. Natural gas oven orifice spud stamped with “51”
15
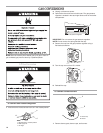
Standard Burner 125
Super Burner 149
Super Burner 149
Standard Burner 125
51


Find Your Products By Category
- Lawn and Garden
- Computer Equipment
- TV and Video
- Laundry Appliance
- Kitchen Appliance
- Car Audio and Video
- Automotive
- Photography
- Fitness & Sports
- Personal Care
- Communications
- Home Audio
- Portable Media
- Musical Instruments & Equipment
- Baby
- Household Appliance
- Cell Phone
- Marine Equipment
- Outdoor Cooking
- Power Tools
- Video Game
Please Login
