
4.3
Owner's of the Canon Digital Camera 9126B003 gave it a score of 4.3 out of 5. Here's how the scores stacked up:


3 Custom Function SettingsN
264
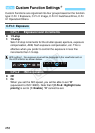
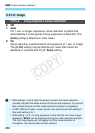
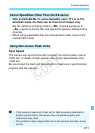
C.Fn-9 Assign SET button
You can assign a frequently-used function to <
0
>. When the camera is ready to
shoot, pressing the <
0
> button will display the respective function setting screen.
0: Normal (disabled)
1: Image quality
The Image quality setting screen will appear. Select the desired
image-recording quality, then press <0>.
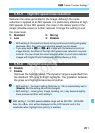
2: Flash exposure compensation
The Flash exposure compensation setting screen will appear. Set
the flash exposure compensation, then press <0>.
3: LCD monitor On/Off
Assigns the same function as the <B> button.
4: Depth-of-field preview
The lens will stop down to the aperture that was set, and you can see the depth
of field (range of acceptable focus) in the viewfinder or in the Live View image.
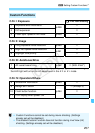
C.Fn-10 Flash button function
0: Raise built-in flash
1: ISO speed
The ISO speed setting screen will appear. Press the <Y> <Z>
keys or turn the <6> dial to change the ISO speed. You can also
refer to the viewfinder to set the ISO speed.
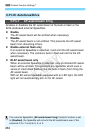
C.Fn-11 LCD display when power ON
0: Display on
When the power switch is turned on, the shooting settings will be
displayed (p.52).
1: Previous display status
If you pressed the <
B
> button and turned off the camera while the
LCD monitor was off, the shooting settings will not be displayed when
you turn on the camera again. This helps to save battery power. The
menu screens and image playback will still be displayed when used.
If you pressed the <B> button to display the shooting settings
and then turn off the camera, the shooting settings will be
displayed when you turn on the camera again.
COPY


Find Your Products By Category
- Lawn and Garden
- Computer Equipment
- TV and Video
- Laundry Appliance
- Kitchen Appliance
- Car Audio and Video
- Automotive
- Photography
- Fitness & Sports
- Personal Care
- Communications
- Home Audio
- Portable Media
- Musical Instruments & Equipment
- Baby
- Household Appliance
- Cell Phone
- Marine Equipment
- Outdoor Cooking
- Power Tools
- Video Game
Please Login
