
4.4
Owner's of the Canon Digital Camera 9543B001 gave it a score of 4.4 out of 5. Here's how the scores stacked up:
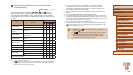
157
Before Use
Basic Guide
Advanced Guide
1
Camera Basics
2
Auto Mode /
Hybrid Auto Mode
3
Other Shooting Modes
5
Tv, Av, M, C1, and C2 Mode
6
Playback Mode
7
Wi-Fi Functions
8
Setting Menu
9
Accessories
10
Appendix
Index
4
P Mode
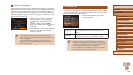
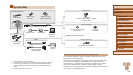
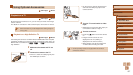
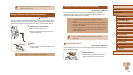
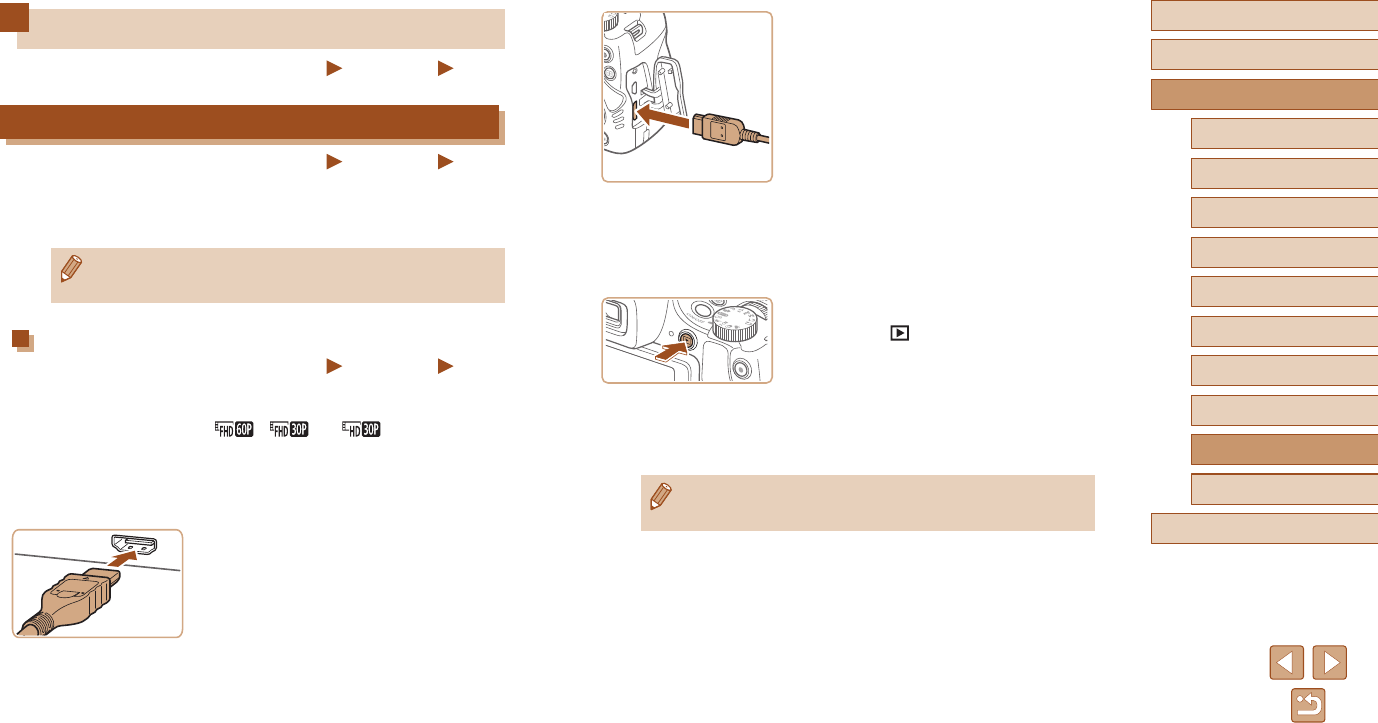
● On the camera, open the terminal cover
and insert the cable plug fully into the
camera terminal.
3
Turn the TV on and switch to video
input.
● Switch the TV input to the video input you
connected the cable to in step 2.
4
Turn the camera on.
● Press the [ ] button to turn the camera
on.
● Images from the camera are now
displayed on the TV. (Nothing is
displayed on the camera screen.)
● When nished, turn off the camera and
TV before disconnecting the cable.
● Camera operating sounds are not played while the camera is
connected to an HDTV.
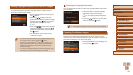
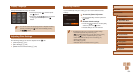
Using Optional Accessories
Still Images
Movies
Playback on a TV
Still Images
Movies
By connecting the camera to a TV, you can view your shots on the larger
screen of the TV.
For details on connection or how to switch inputs, refer to the TV manual.
● Some information may not be displayed when viewing images on
a TV (
=
181).
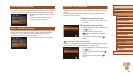
Playback on a High-Denition TV
Still Images
Movies
Connecting the camera to an HDTV with the HDMI Cable HTC-100 (sold
separately) enables you to view your shots on the larger screen of the TV.
Movies shot at a resolution of [ ], [ ], or [ ] can be viewed in
high denition.
1
Make sure the camera and TV are
off.
2
Connect the camera to the TV.
● On the TV, insert the cable plug fully into
the HDMI input as shown.


Find Your Products By Category
- Lawn and Garden
- Computer Equipment
- TV and Video
- Laundry Appliance
- Kitchen Appliance
- Car Audio and Video
- Automotive
- Photography
- Fitness & Sports
- Personal Care
- Communications
- Home Audio
- Portable Media
- Musical Instruments & Equipment
- Baby
- Household Appliance
- Cell Phone
- Marine Equipment
- Outdoor Cooking
- Power Tools
- Video Game
Please Login
