
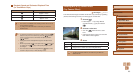
4.4
Owner's of the Canon Digital Camera 9543B001 gave it a score of 4.4 out of 5. Here's how the scores stacked up:


68
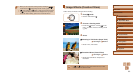
Before Use
Basic Guide
Advanced Guide
1
Camera Basics
2
Auto Mode /
Hybrid Auto Mode
3
Other Shooting Modes
5
Tv, Av, M, C1, and C2 Mode
6
Playback Mode
7
Wi-Fi Functions
8
Setting Menu
9
Accessories
10
Appendix
Index
4
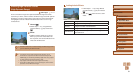
P Mode
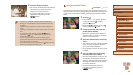
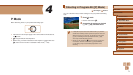
Sound Settings
Still Images
Movies
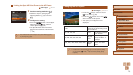
Adjusting the Recording Volume
Although the recording level (volume) is automatically adjusted to reduce
distortion, you can set the level manually to suit the shooting scene.
1
Access the [Sound rec.] screen.
● Press the [ ] button, choose
[Sound rec.] on the [ ] tab, and then
press the [ ] button (
=
30).
2
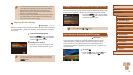
Congure the setting.
● Choose [Sound rec.], and then choose
[Manual] (
=
30).
● Press the [
] button, and then press the
[ ][ ] buttons to congure the [Level]
setting.
● To restore the original setting, repeat this
process but choose [Auto].
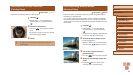
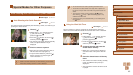
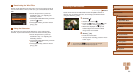
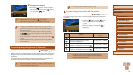
Locking or Changing Image Brightness before Shooting
Still Images
Movies
You can lock the exposure before or during recording or adjust it in 1/3-stop
increments within a range of −2 to +2 stops.
1
Lock the exposure.
● While holding the shutter button halfway
down, press the [ ] button to lock the
exposure. [ ] is displayed.
● To unlock the exposure, press the [
]
button again.
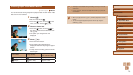
2
Adjust the exposure.
● Turn the [ ] dial to adjust the
exposure, as you watch the screen.
3
Shoot.
● To make the sound of the [ ] dial quieter while you are
recording a movie, press the [
][ ] buttons and adjust the setting.
● You can switch between adjusting the exposure compensation
and focal position during MF (
=
79) movie recording each time
you press the [
] button. Press the [ ][ ] buttons to congure
these settings.


Find Your Products By Category
- Lawn and Garden
- Computer Equipment
- TV and Video
- Laundry Appliance
- Kitchen Appliance
- Car Audio and Video
- Automotive
- Photography
- Fitness & Sports
- Personal Care
- Communications
- Home Audio
- Portable Media
- Musical Instruments & Equipment
- Baby
- Household Appliance
- Cell Phone
- Marine Equipment
- Outdoor Cooking
- Power Tools
- Video Game
Please Login
