
0
Owner's of the Brother Sewing Machine Computerized Embroidery Machine gave it a score of 0 out of 5. Here's how the scores stacked up:


Attaching the Embroidery Unit 15
1
— — — — — — — — — — — — — — — — — — — — — — — — — — — — — — — — — — — — — — — — — — — — — — — — — — — —
Attaching the Embroidery Unit
This section describes how to attach the embroidery unit. Before turning on the machine, attach the
embroidery unit to it. If the embroidery unit is not attached, the machine does not operate.
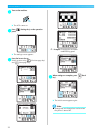
Embroidery unit precautions
Cautions for the embroidery unit will be explained
below.
CAUTION
Note
z Do not touch the connector in the
embroidery unit connector slot. The
connector could be damaged, and it may
cause malfunctions.
z Do not lift up on the embroidery carriage,
and do not forcefully move it. It may cause
malfunctions.
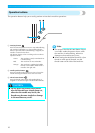
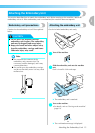
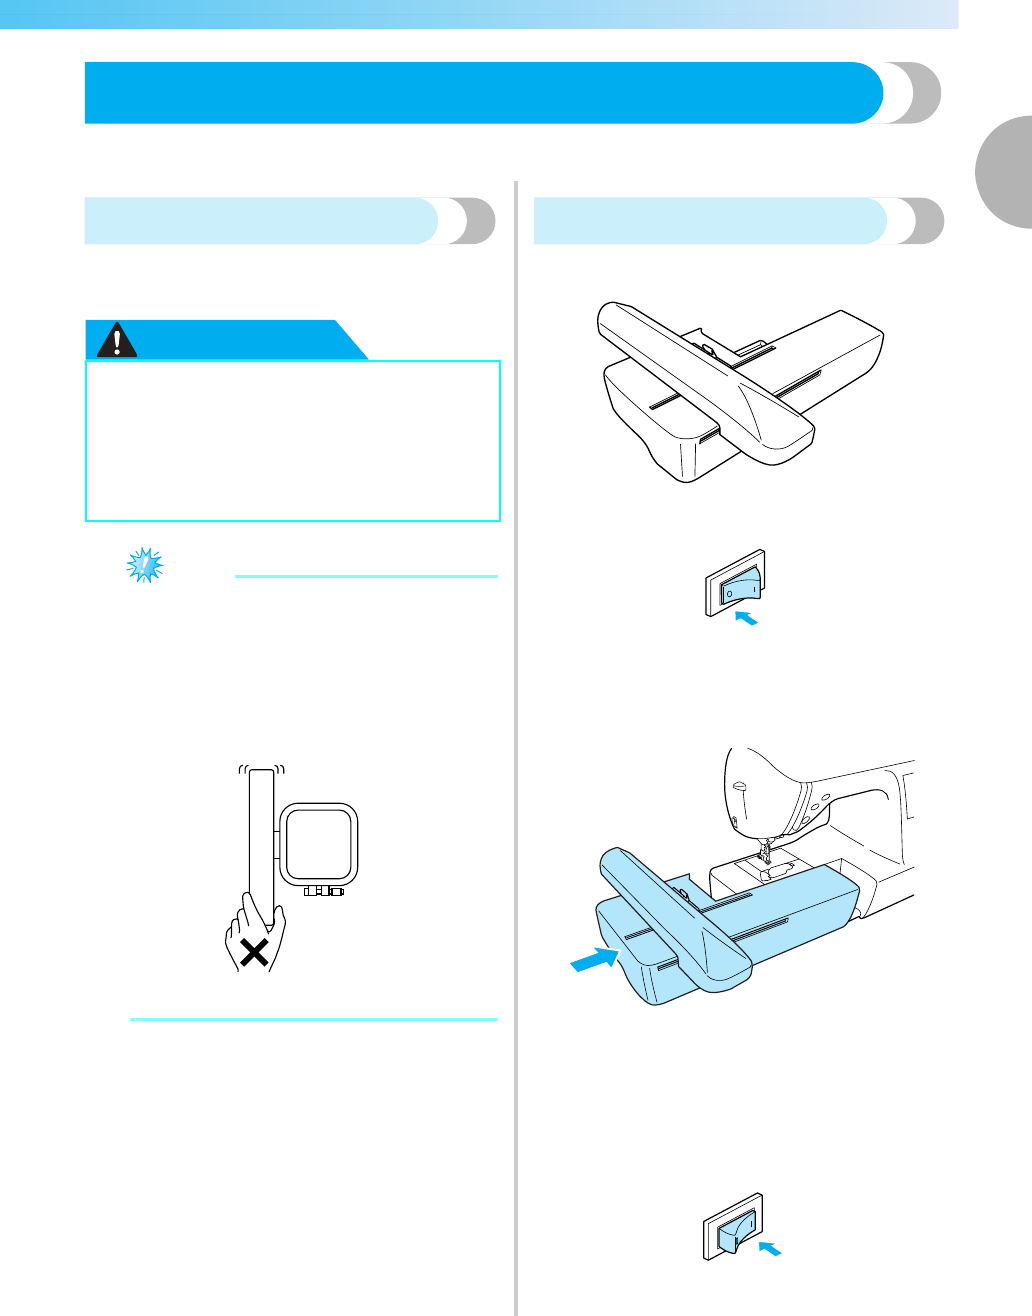
Attaching the embroidery unit
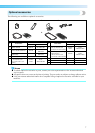
Get the included embroidery unit ready.
a
Turn off the machine.
b
Slide the embroidery unit onto the machine
arm.
Push it in until it clicks and stops.
X The embroidery unit is attached.
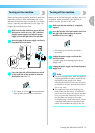
c
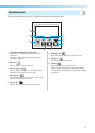
Turn on the machine.
• For details, refer to “Turning on the machine”
(page 19).
X The confirmation message is displayed.
● Do not move the machine with the
embroidery unit in place. The embroidery
unit may be dropped and cause injury.
● Keep your hands and other objects away
from the embroidery carriage and frame.
Otherwise injury may result.


Find Your Products By Category
- Lawn and Garden
- Computer Equipment
- TV and Video
- Laundry Appliance
- Kitchen Appliance
- Car Audio and Video
- Automotive
- Photography
- Fitness & Sports
- Personal Care
- Communications
- Home Audio
- Portable Media
- Musical Instruments & Equipment
- Baby
- Household Appliance
- Cell Phone
- Marine Equipment
- Outdoor Cooking
- Power Tools
- Video Game
Please Login
