
0
Owner's of the Brother Sewing Machine Computerized Embroidery Machine gave it a score of 0 out of 5. Here's how the scores stacked up:


GETTING READY — — — — — — — — — — — — — — — — — — — — — — — — — — — — — — — — — — — — — — — — — — — —
34
e
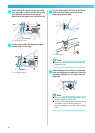
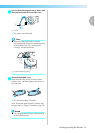
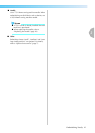
Raise the presser foot lever, pass the end of the
thread through the embroidery foot hole.
X The upper threading is finished.
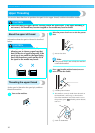
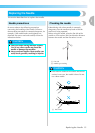
Now that the upper threading and the lower
threading are finished, you are ready to start
embroidering.
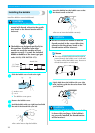
Note
z If the needle is not raised, the needle
threader cannot thread the needle. Be sure
to press (Needle position button) to
raise the needle before using the needle
threader.
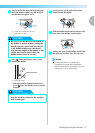
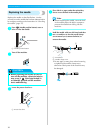
Threading the needle manually
(
without using the needle threader
)
When using special thread, thread with a thickness of
130/20 or thicker which cannot be used with the
needle threader, thread the needle as described
below.
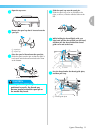
a
Thread the machine to the needle bar thread
guide.
• For details, refer to “Threading the upper
thread” (page 30).
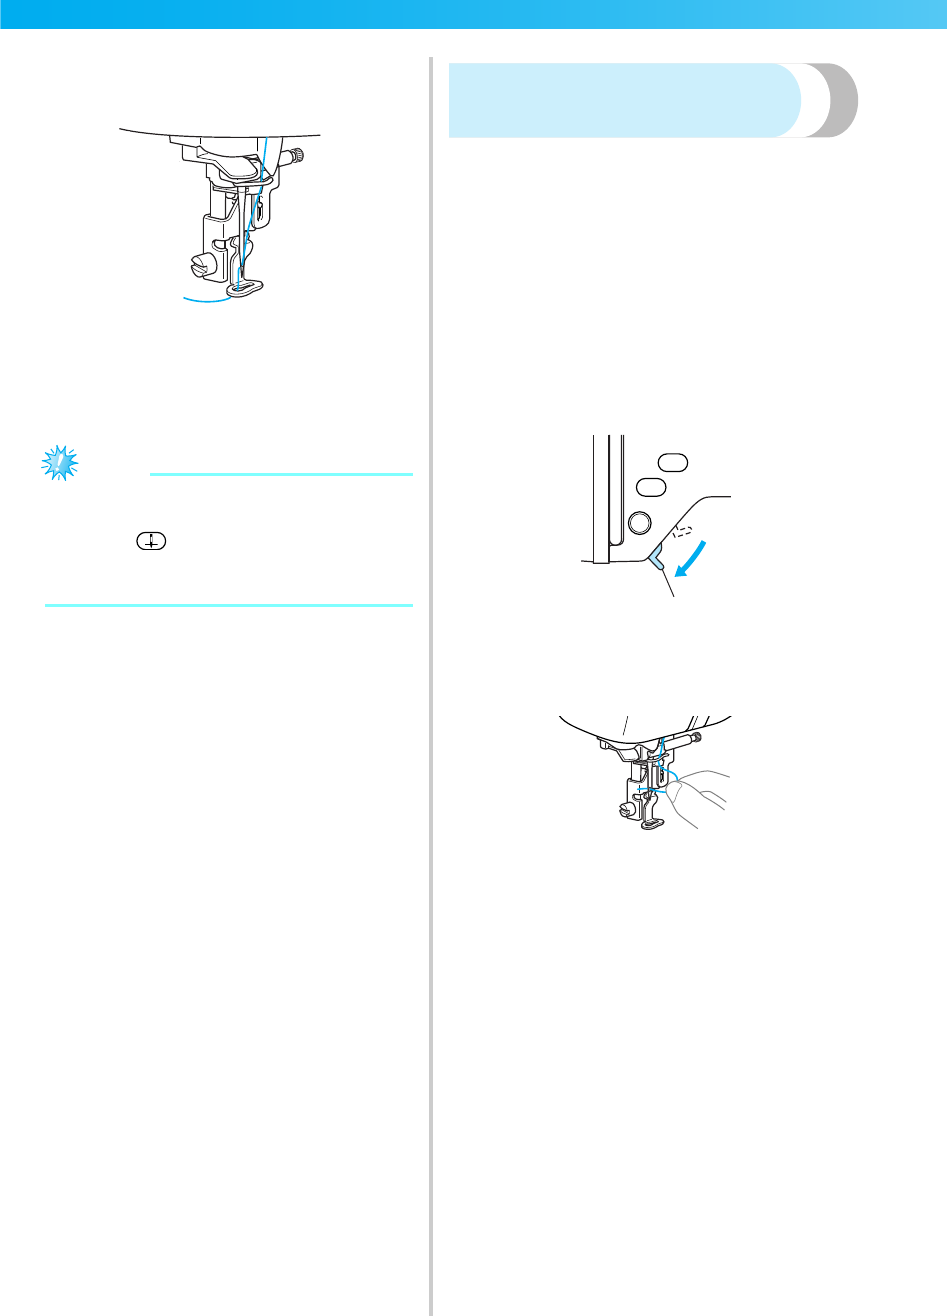
b
Lower the presser foot lever.
a Pressor foot lever
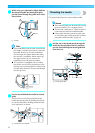
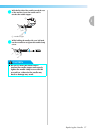
c
Pass the thread through the eye of the needle
from front to back.
d
Raise the presser foot lever, pass the end of the
thread through the embroidery foot hole.
1


Find Your Products By Category
- Lawn and Garden
- Computer Equipment
- TV and Video
- Laundry Appliance
- Kitchen Appliance
- Car Audio and Video
- Automotive
- Photography
- Fitness & Sports
- Personal Care
- Communications
- Home Audio
- Portable Media
- Musical Instruments & Equipment
- Baby
- Household Appliance
- Cell Phone
- Marine Equipment
- Outdoor Cooking
- Power Tools
- Video Game
Please Login
