
0
Owner's of the Brother Sewing Machine Computerized Embroidery Machine gave it a score of 0 out of 5. Here's how the scores stacked up:
Attaching the Embroidery Frame 47
2
— — — — — — — — — — — — — — — — — — — — — — — — — — — — — — — — — — — — — — — — — — — — — — — — — — — —
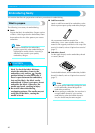
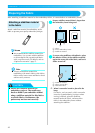
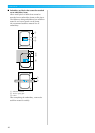
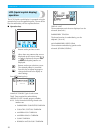
Attaching the Embroidery Frame
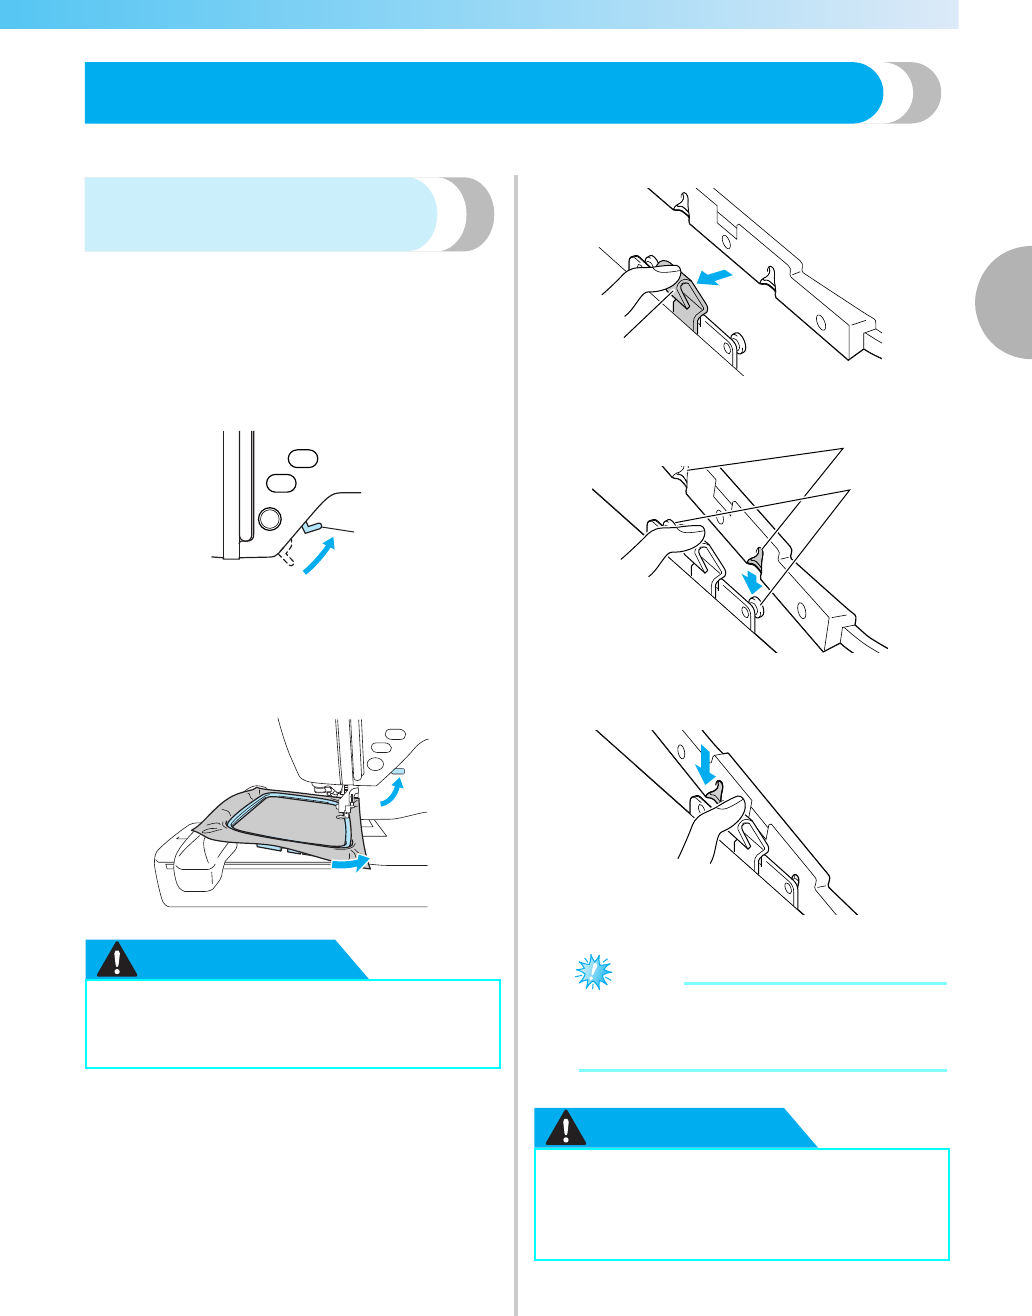
This section describes how to attach the embroidery frame.
Attaching the embroidery
frame
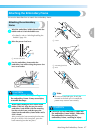
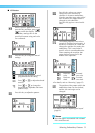
a
Wind the embroidery bobbin thread onto the
bobbin and set it into the bobbin case.
• For details, refer to “Winding/Installing the
Bobbin” (page 24).
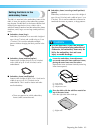
b
Raise the presser foot lever.
a Presser foot lever
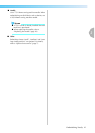
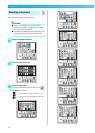
c
Pass the embroidery frame under the
embroidery foot while raising the presser foot
lever even further.
CAUTION
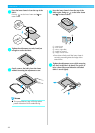
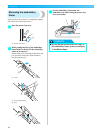
d
While lightly holding the lever on the frame
holder to the left, align the two pins on the
embroidery frame holder with the mounting
brackets on the frame, and then press the
frame into the embroidery frame holder until a
click is heard.
After pressing the front mounting bracket onto
the pin so that it clicks into place, press the
back mounting bracket into place.
a Lever
a Mounting brackets
b Pins
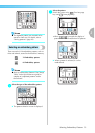
Note
z Be sure to insert both pins. If only the
forward or the back pin is inserted, the
pattern may not turn out correctly.
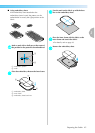
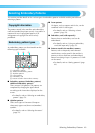
CAUTION
● Do not hit the needle with your finger or
the embroidery frame. It may cause injury
or needle breakage.
a
● Correctly set the embroidery frame into
the embroidery frame holder. Otherwise,
the embroidery foot may hit the
embroidery frame, resulting in injury.
1
1
2
1
2
3


Find Your Products By Category
- Lawn and Garden
- Computer Equipment
- TV and Video
- Laundry Appliance
- Kitchen Appliance
- Car Audio and Video
- Automotive
- Photography
- Fitness & Sports
- Personal Care
- Communications
- Home Audio
- Portable Media
- Musical Instruments & Equipment
- Baby
- Household Appliance
- Cell Phone
- Marine Equipment
- Outdoor Cooking
- Power Tools
- Video Game
Please Login
