
0
Owner's of the Canon Digital Camera 9169B001 gave it a score of 0 out of 5. Here's how the scores stacked up:

130
Before Use
Basic Guide
Advanced Guide
Camera Basics
Auto Mode
Other Shooting
Modes
P Mode
Playback Mode
Wi-Fi Functions
Setting Menu
Accessories
Appendix
Index
Hybrid Auto /
Dual Capture Mode
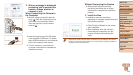
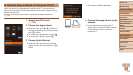
Connecting to WPS-Compatible Access
Points
WPS makes it easy to complete settings when connecting devices over Wi-
Fi. You can use either Push Button Conguration Method or PIN Method for
settings on a WPS supported device.
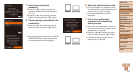
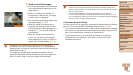
1 Conrmthatthetargetdeviceis
connected to the access point.
This step is not required when connecting
to Web services.
For instructions on checking the
connection, refer to the device and
access point user manuals.
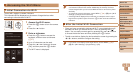
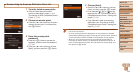
2 Access the Wi-Fi menu
(=
128).
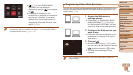
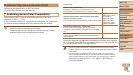
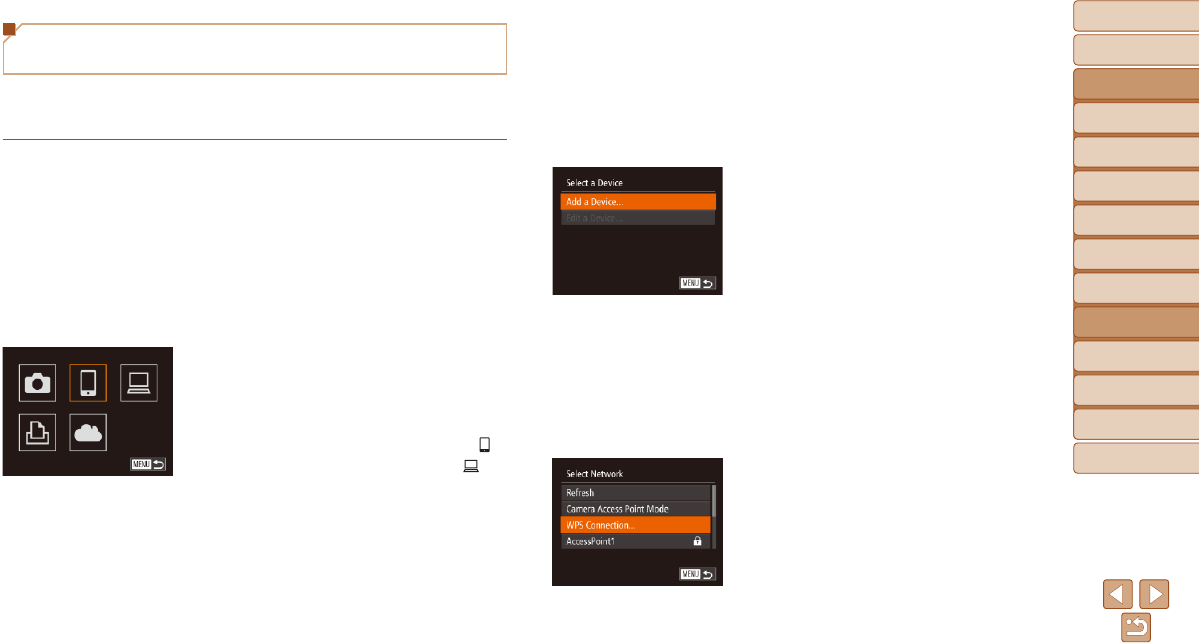
3 Choose the target device.
Press the <o><p><q><r> buttons to
choose the target device, and then press
the <m> button.
To connect to a smartphone, choose [ ].
To connect to a computer, choose [ ].
To connect to a printer, choose [2].
To connect to a Web service, choose
the service icon. If multiple recipients
or sharing options are used with a Web
service, choose the desired item on the
[Select Recipient] screen by pressing the
<o><p> buttons, and then press the
<m> button.
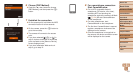
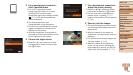
4 Choose [Add a Device].
Press the <o><p> buttons to choose
[Add a Device], and then press the <m>
button.
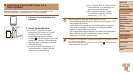
To connect to a smartphone or printer,
when the [Waiting to connect] screen
(=
135) is displayed, press the
<q><r> buttons to choose [Switch
Network], and then press the <m>
button.
A list of detected access points will be
displayed.
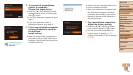
5 Choose [WPS Connection].
Press the <o><p> buttons to choose
[WPS Connection], and then press the
<m> button.


Find Your Products By Category
- Lawn and Garden
- Computer Equipment
- TV and Video
- Laundry Appliance
- Kitchen Appliance
- Car Audio and Video
- Automotive
- Photography
- Fitness & Sports
- Personal Care
- Communications
- Home Audio
- Portable Media
- Musical Instruments & Equipment
- Baby
- Household Appliance
- Cell Phone
- Marine Equipment
- Outdoor Cooking
- Power Tools
- Video Game
Please Login
