
0
Owner's of the Canon Digital Camera 9169B001 gave it a score of 0 out of 5. Here's how the scores stacked up:


136
Before Use
Basic Guide
Advanced Guide
Camera Basics
Auto Mode
Other Shooting
Modes
P Mode
Playback Mode
Wi-Fi Functions
Setting Menu
Accessories
Appendix
Index
Hybrid Auto /
Dual Capture Mode
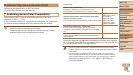
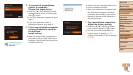
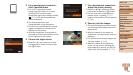
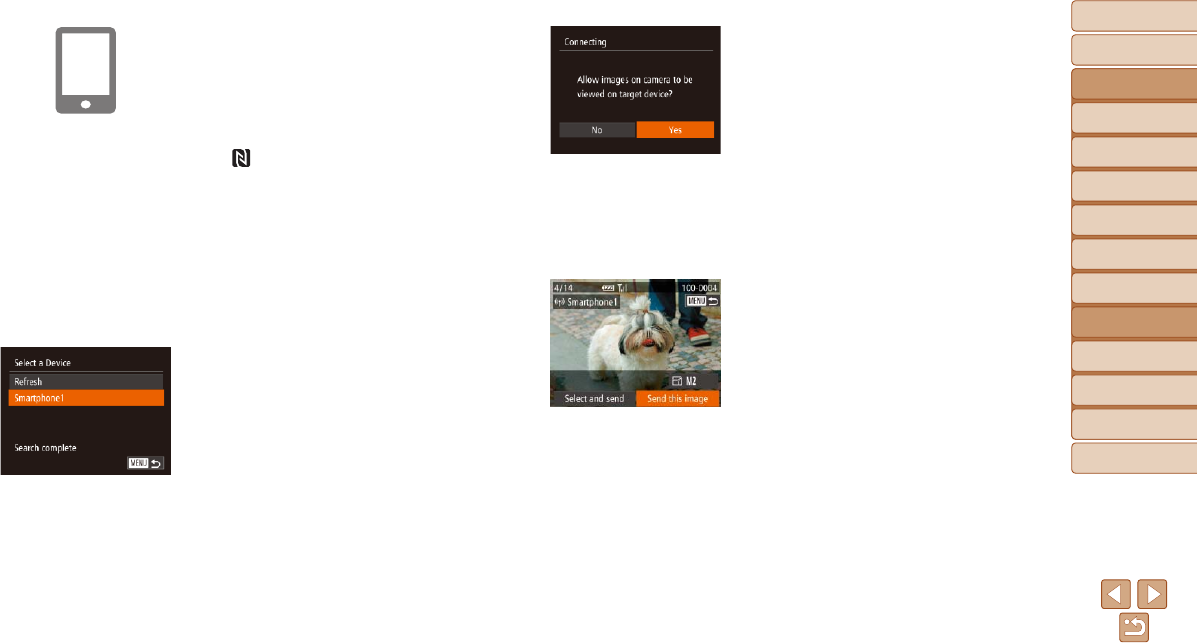
7 For a smartphone connection:
Adjust the privacy setting.
Press the <q><r> buttons to choose
[Yes], and then press the <m> button.
You can now use the smartphone to
browse, import, or geotag (=
147)
images on the camera or shoot remotely
(=
148).
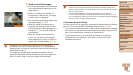
8 Send or print the images.
The screen displayed when the devices
are connected varies depending on the
target device.
When the camera is connected to a
smartphone, an image transfer screen is
displayed.
For instructions on sending images, see
“Sending Images” (=
139).
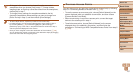
When the camera is connected to a
printer, you can print by following the
same steps as for printing via USB. For
details, see “Printing Images” (=
171).
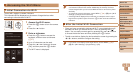
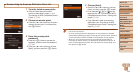
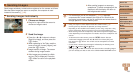
5 For a smartphone connection:
Start CameraWindow.
For an NFC-compatible Android
smartphone (OS version 4.0 or later),
activating NFC and touching the
smartphone against the camera’s N-Mark
(
, =
124) will start CameraWindow
on the smartphone.
For other smartphones, start
CameraWindow on the smartphone.
The rst time CameraWindow is opened,
register a smartphone nickname to be
displayed on the camera.
Once the smartphone is recognized on
the camera, the device connection screen
will be displayed on the camera.
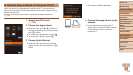
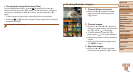
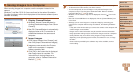
6 Choose the target device.
Press the <o><p> buttons to choose
the target device name, and then press
the <m> button.


Find Your Products By Category
- Lawn and Garden
- Computer Equipment
- TV and Video
- Laundry Appliance
- Kitchen Appliance
- Car Audio and Video
- Automotive
- Photography
- Fitness & Sports
- Personal Care
- Communications
- Home Audio
- Portable Media
- Musical Instruments & Equipment
- Baby
- Household Appliance
- Cell Phone
- Marine Equipment
- Outdoor Cooking
- Power Tools
- Video Game
Please Login
