
0
Owner's of the Canon Digital Camera 9169B001 gave it a score of 0 out of 5. Here's how the scores stacked up:


172
Before Use
Basic Guide
Advanced Guide
Camera Basics
Auto Mode
Other Shooting
Modes
P Mode
Playback Mode
Wi-Fi Functions
Setting Menu
Accessories
Appendix
Index
Hybrid Auto /
Dual Capture Mode
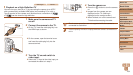
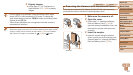
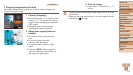
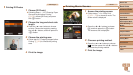
2 Connect the camera to the
printer.
Open the cover. Holding the smaller
cable plug in the orientation shown, insert
the plug fully into the camera terminal.
Connect the larger cable plug to the
printer. For other connection details, refer
to the printer manual.
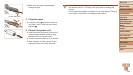
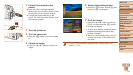
3 Turn the printer on.
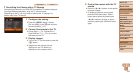
4 Turn the camera on.
Press the <1> button to turn the camera
on.
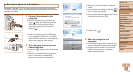
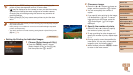
5 Choose an image.
Press the <q><r> buttons to choose an
image.
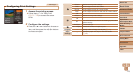
6 Access the printing screen.
Press the <m> button, choose [c], and
press the <m> button again.
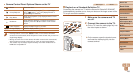
7 Print the image.
Press the <o><p> buttons to choose
[Print], and then press the <m> button.
Printing now begins.
To print other images, repeat the above
procedures starting from step 5 after
printing is nished.
When you are nished printing, turn the
camera and printer off and disconnect
the cable.
• For Canon-brand PictBridge-compatible printers (sold separately), see
“Printers” (=
163).


Find Your Products By Category
- Lawn and Garden
- Computer Equipment
- TV and Video
- Laundry Appliance
- Kitchen Appliance
- Car Audio and Video
- Automotive
- Photography
- Fitness & Sports
- Personal Care
- Communications
- Home Audio
- Portable Media
- Musical Instruments & Equipment
- Baby
- Household Appliance
- Cell Phone
- Marine Equipment
- Outdoor Cooking
- Power Tools
- Video Game
Please Login
