

0
Owner's of the Canon Digital Camera 9169B001 gave it a score of 0 out of 5. Here's how the scores stacked up:


139
Before Use
Basic Guide
Advanced Guide
Camera Basics
Auto Mode
Other Shooting
Modes
P Mode
Playback Mode
Wi-Fi Functions
Setting Menu
Accessories
Appendix
Index
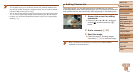
Hybrid Auto /
Dual Capture Mode
After sending images to a camera or
smartphone, [Transfer completed] will be
displayed, and the display will return to
the image transfer screen.
•For movies that you do not compress (=
113), a separate,
compressed le is sent instead of the original le. Note that this
may delay transmission, and the le cannot be sent unless there is
enough space for it on the memory card.
• Keep your ngers or other objects off the Wi-Fi antenna area (=
3).
Covering this may decrease the speed of your image transfers.
• Depending on the condition of the network you are using, it may take a long
time to send movies. Be sure to keep an eye on the camera battery level.
• When sending movies to smartphones, note that the supported image quality
varies depending on the smartphone. For details, refer to the smartphone user
manual.
• To disconnect from the camera, press the <n> button. After the
conrmation message, press the <q><r> buttons to choose [OK], and
then press the <m> button. You can also use the smartphone to end the
connection.
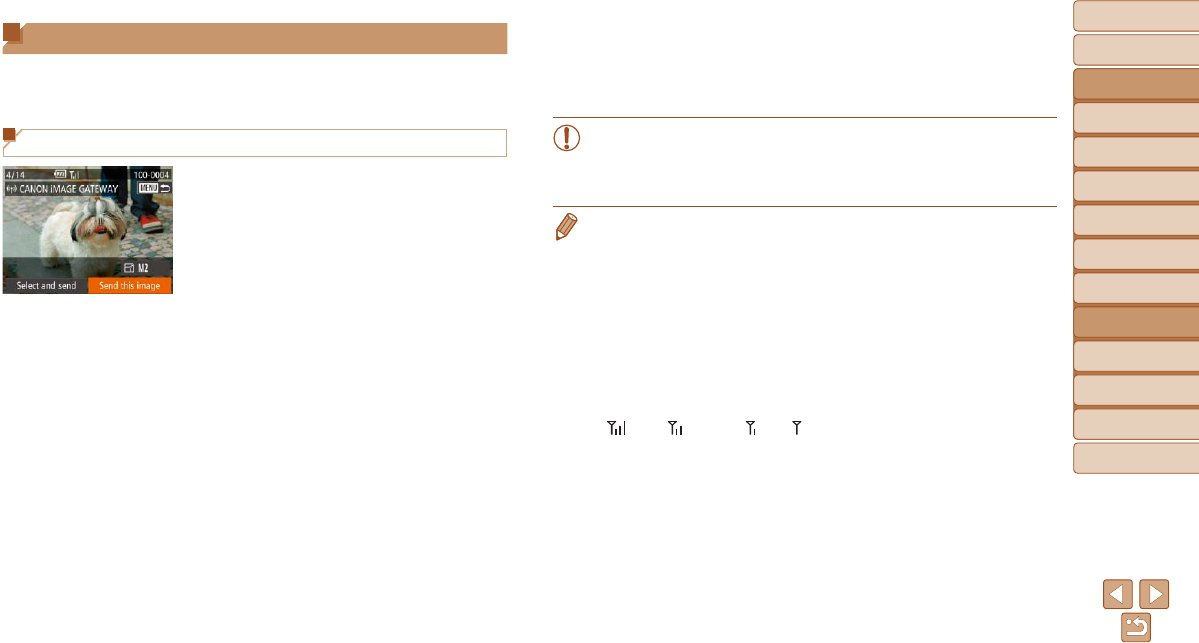
• On the screen, wireless signal strength is indicated by the following icons.
[
] high, [ ] medium, [ ] low, [ ] weak
• Sending images to Web services will take less time when resending images
you have already sent that are still on the CANON iMAGE GATEWAY server.
Sending Images
Send images wirelessly to destinations registered on the camera as follows.
Note that when images are sent to a computer, the computer is used
instead of the camera (=
142).
Sending Images Individually
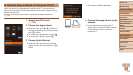
1 Choose an image.
Drag left or right across the screen to
choose an image to send.
2 Send the image.
Press the <q><r> buttons to choose
[Send this image], and then press the
<m> button.
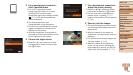
When uploading to YouTube, read the
terms of service, choose [I Agree], and
press the <m> button.
Image transfer will begin. The screen
darkens during image transfer.
After images are uploaded to a Web
service, [OK] is displayed. Press the
<m> button to return to the playback
screen.


Find Your Products By Category
- Lawn and Garden
- Computer Equipment
- TV and Video
- Laundry Appliance
- Kitchen Appliance
- Car Audio and Video
- Automotive
- Photography
- Fitness & Sports
- Personal Care
- Communications
- Home Audio
- Portable Media
- Musical Instruments & Equipment
- Baby
- Household Appliance
- Cell Phone
- Marine Equipment
- Outdoor Cooking
- Power Tools
- Video Game
Please Login
