
0
Owner's of the Canon Digital Camera 9169B001 gave it a score of 0 out of 5. Here's how the scores stacked up:


144
Before Use
Basic Guide
Advanced Guide
Camera Basics
Auto Mode
Other Shooting
Modes
P Mode
Playback Mode
Wi-Fi Functions
Setting Menu
Accessories
Appendix
Index
Hybrid Auto /
Dual Capture Mode
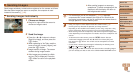
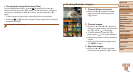
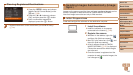
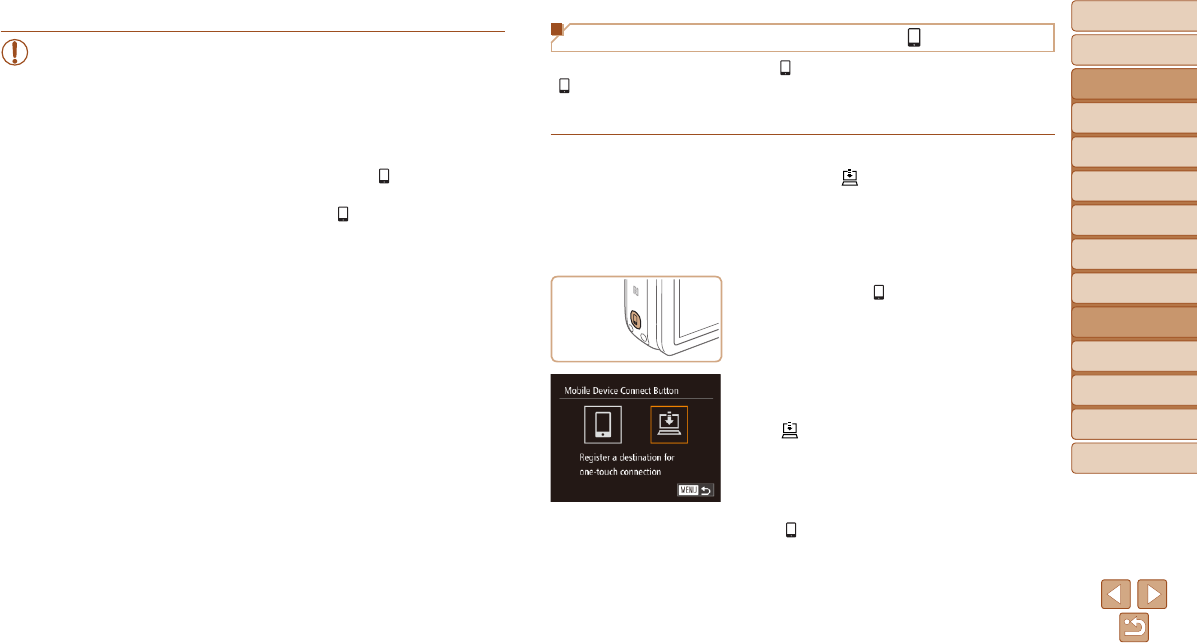
Registering Image Sync to the < > Button
By registering Image Sync to the < > button, you can simply press the
< > button to send any unsent images on the memory card to a computer
via CANON iMAGE GATEWAY. For details on Image Sync, see “Sending
Images Automatically (Image Sync)” (=
145).
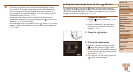
1 Prepare the camera.
Register [ ] as the destination (=
121
– 122).
Install the software on the destination
computer, and congure the camera
settings (=
145).
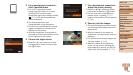
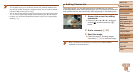
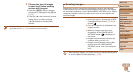
2 Press the < > button.
3 Choose the destination.
Press the <q><r> buttons to choose
[
], and then press the <m> button.
The camera will automatically reconnect
to any previous access points and send
the images (=
145).
From now on, you can simply press the
<
> button to send images.
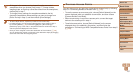
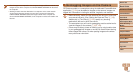
•When you are in the vicinity of an access point that you have
previously connected to, the camera will automatically connect
to it in step 2. To change access points, select [Switch Network]
from the screen that will be displayed when the connection is
being established, and follow steps 5 – 9 in “Connecting to WPS-
Compatible Access Points” (=
130).
•All images in the camera can be viewed from the connected
smartphone. Note that if you have assigned the < > button, [View
Settings] (=
149) is not available.
•One smartphone can be registered to the < > button. If you wish to
register a different smartphone, clear the one currently registered
(=
145) rst.


Find Your Products By Category
- Lawn and Garden
- Computer Equipment
- TV and Video
- Laundry Appliance
- Kitchen Appliance
- Car Audio and Video
- Automotive
- Photography
- Fitness & Sports
- Personal Care
- Communications
- Home Audio
- Portable Media
- Musical Instruments & Equipment
- Baby
- Household Appliance
- Cell Phone
- Marine Equipment
- Outdoor Cooking
- Power Tools
- Video Game
Please Login
