
0
Owner's of the Brother Sewing Machine PC-420PRW gave it a score of 0 out of 5. Here's how the scores stacked up:

GETTING READY ——————————————————————————————————————————————————
—
28
GETTING READYCONTENTS SEWING BASICS UTILITY STITCHES APPENDIX INDEX
7
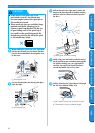
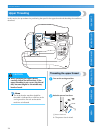
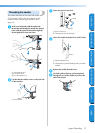
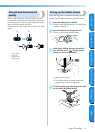
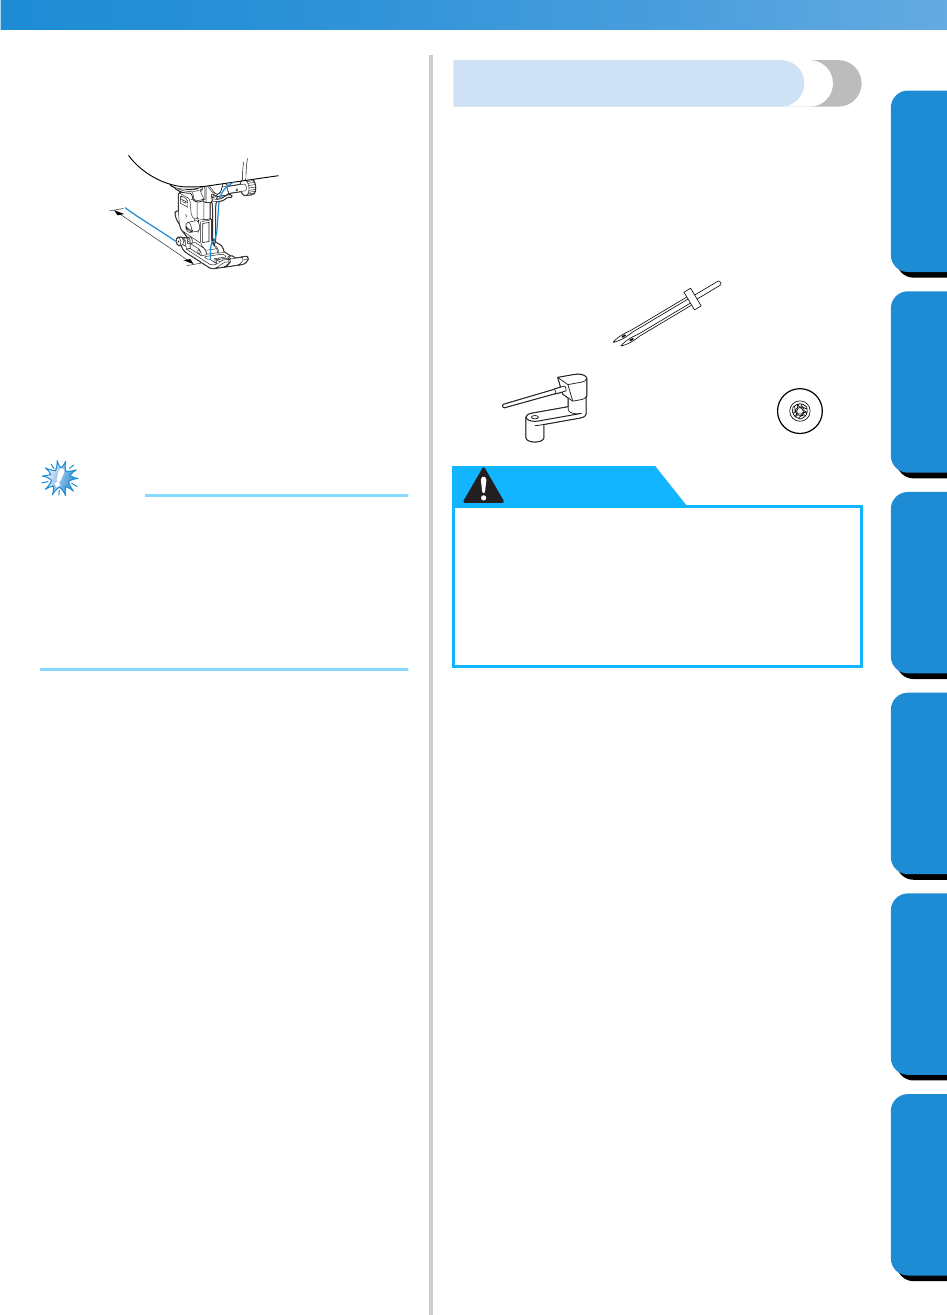
Raise the presser foot lever, pass the thread
through the presser foot, and then pull out
about 5 cm (2 inch) of thread toward the rear
of the machine.
1 5 cm (2 inch)
X The lower threading is finished.
Now that the upper threading and the lower
threading are finished, you are ready to begin
sewing.
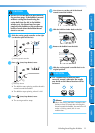
Note
● If the needle is not raised, the needle
threader cannot thread the needle. Be sure
to press the needle position button to raise
the needle before using the needle threader.
● If the twin needle is installed, the needle
threader cannot be used. For details, refer to
“Using the twin needle” (at the right).
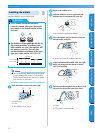
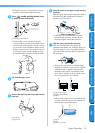
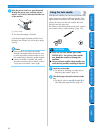
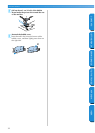
Using the twin needle
With the twin needle, you can sew two parallel lines
of the same stitch with two different threads. Both
upper threads should have the same thickness and
quality. Be sure to use the twin needle, the extra
spool pin and the spool cap.
For details on the stitches that can be sewn with the
twin needle, refer to “Stitch Settings” (page 128).
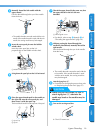
1
Install the twin needle.
• For details on installing a needle, refer to
“Replacing the needle” (page 35).
2
Thread the upper thread for the left needle
eye.
• For details, refer to steps
1
through
a
of
“Threading the upper thread” (page 24).
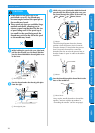
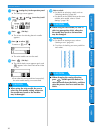
1
●
Only use the twin needle (part code:
X59296-051). Use of any other needle
may bend the needle or damage the
machine.
●
Never use bent needles. Bent needles can
easily break, possibly resulting in injuries.
CAUTION


Find Your Products By Category
- Lawn and Garden
- Computer Equipment
- TV and Video
- Laundry Appliance
- Kitchen Appliance
- Car Audio and Video
- Automotive
- Photography
- Fitness & Sports
- Personal Care
- Communications
- Home Audio
- Portable Media
- Musical Instruments & Equipment
- Baby
- Household Appliance
- Cell Phone
- Marine Equipment
- Outdoor Cooking
- Power Tools
- Video Game
Please Login
