
0
Owner's of the Brother Sewing Machine PC-420PRW gave it a score of 0 out of 5. Here's how the scores stacked up:


Sewing 51
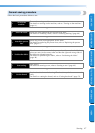
GETTING READYCONTENTS SEWING BASICS UTILITY STITCHES APPENDIX INDEX
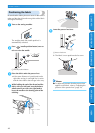
Securing the stitching
When sewing with the straight stitch, for example, at
the end of an opening or where seams do not
overlap, use reverse stitching or reinforcement
stitching to secure the end of the thread.
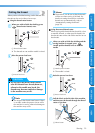
1
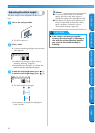
Lower the needle into the fabric at the
beginning of the stitching, and then lower the
presser foot lever.
2
Press (start/stop button) or press down
on the foot controller.
At this time, if the start/stop button is held
pressed, the machine sews at a low speed.
1 Start/stop button
• For details, refer to “Starting to sew”
(page 49).
X The machine starts sewing.
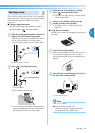
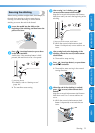
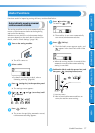
3
After sewing 3 to 5 stitches, press
(reverse/reinforcement stitch button).
Keep the reverse/reinforcement stitch button
held down until you reach the beginning of the
stitching.
1 Reverse/reinforcement stitch button
X While the reverse/reinforcement stitch
button is held pressed, reverse stitches are
sewn.
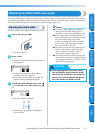
4
After sewing back to the beginning of the
stitching, release the reverse/reinforcement
stitch button.
X The machine stops sewing.
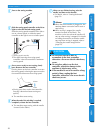
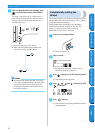
5
Press (start/stop button), or press down
on the foot controller.
X The machine starts sewing in the normal
sewing direction.
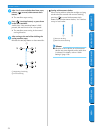
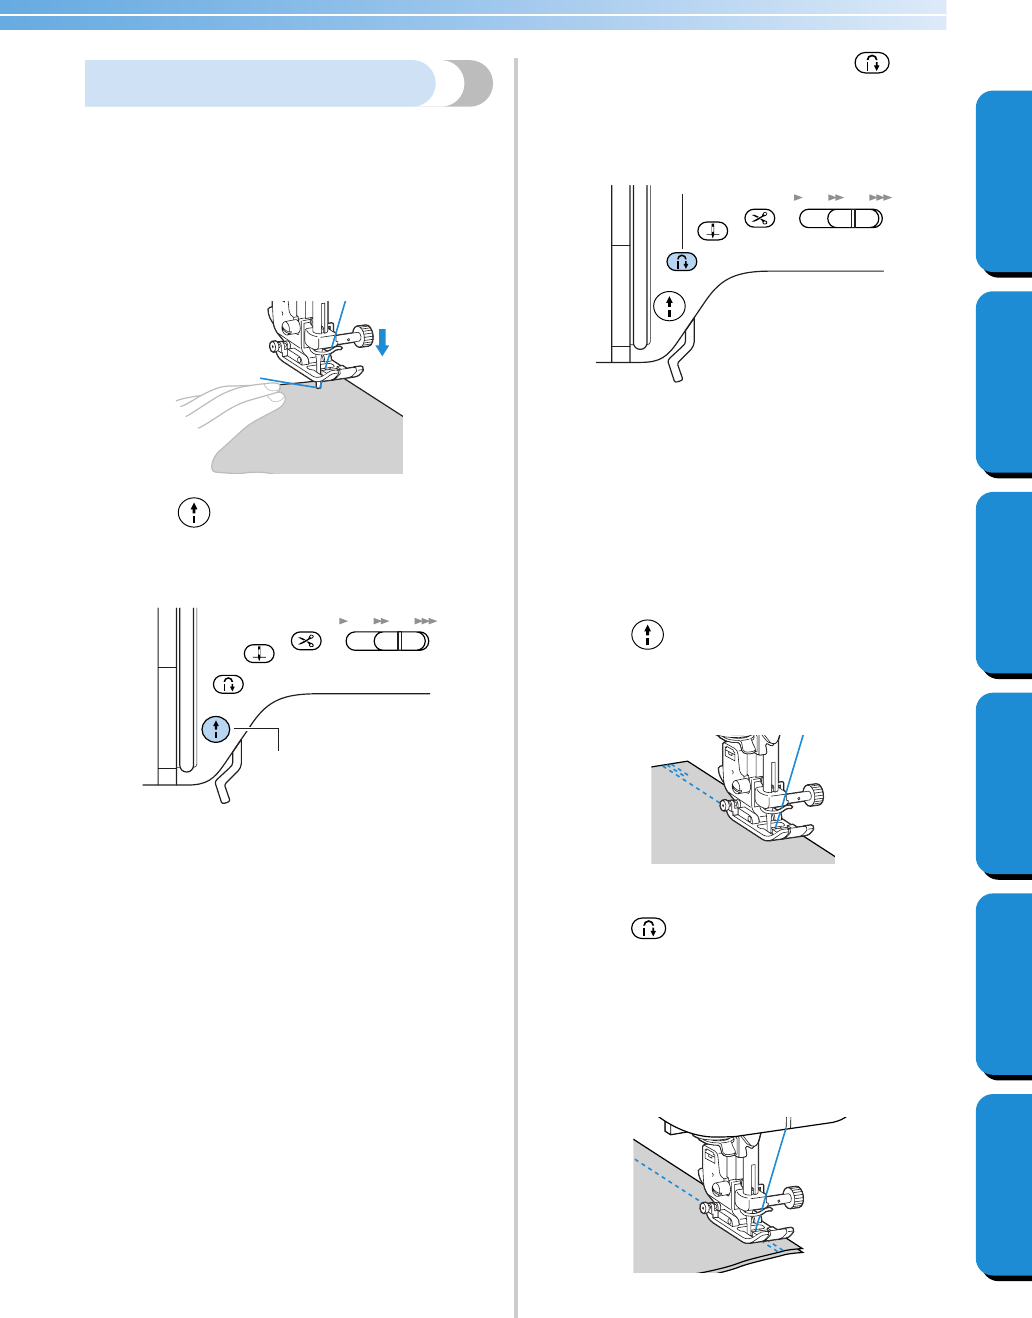
6
When the end of the stitching is reached,
press (reverse/reinforcement stitch
button).
Keep the reverse/reinforcement stitch button
held down until 3 to 5 reverse stitches are
sewn.
X While the reverse/reinforcement stitch
button is depressed, reverse stitches are
sewn.
1
1


Find Your Products By Category
- Lawn and Garden
- Computer Equipment
- TV and Video
- Laundry Appliance
- Kitchen Appliance
- Car Audio and Video
- Automotive
- Photography
- Fitness & Sports
- Personal Care
- Communications
- Home Audio
- Portable Media
- Musical Instruments & Equipment
- Baby
- Household Appliance
- Cell Phone
- Marine Equipment
- Outdoor Cooking
- Power Tools
- Video Game
Please Login
