
0
Owner's of the Brother Sewing Machine PC-420PRW gave it a score of 0 out of 5. Here's how the scores stacked up:


GETTING READYCONTENTS SEWING BASICS UTILITY STITCHES APPENDIX INDEX
Replacing the Presser Foot 39
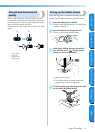
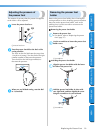
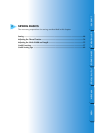
Adjusting the pressure of
the presser foot
The amount of pressure that the presser foot applies
to the fabric can be adjusted.
1
Lower the presser foot lever.
1 Presser foot lever
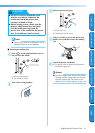
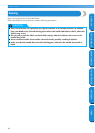
2
Turn the presser foot dial at the back of the
sewing machine.
The scale on the dial indicates the range from
1 (weak) to 4 (strong). Turn the dial to the right
(smaller number) to decrease the pressure.
Turn the dial to the left (larger number) to
decrease the pressure.
3
When you are finished sewing, reset the dial
to 3 (standard).
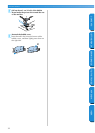
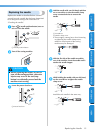
Removing the presser foot
holder
Remove the presser foot holder when cleaning the
sewing machine or when installing a presser foot that
does not use the presser foot holder, such as the
quilting foot. Use the screwdriver to remove the
presser foot holder.
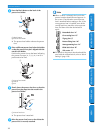
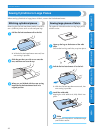
■ Removing the presser foot holder
1
Remove the presser foot.
• For details, refer to “Replacing the presser
foot” (page 37).
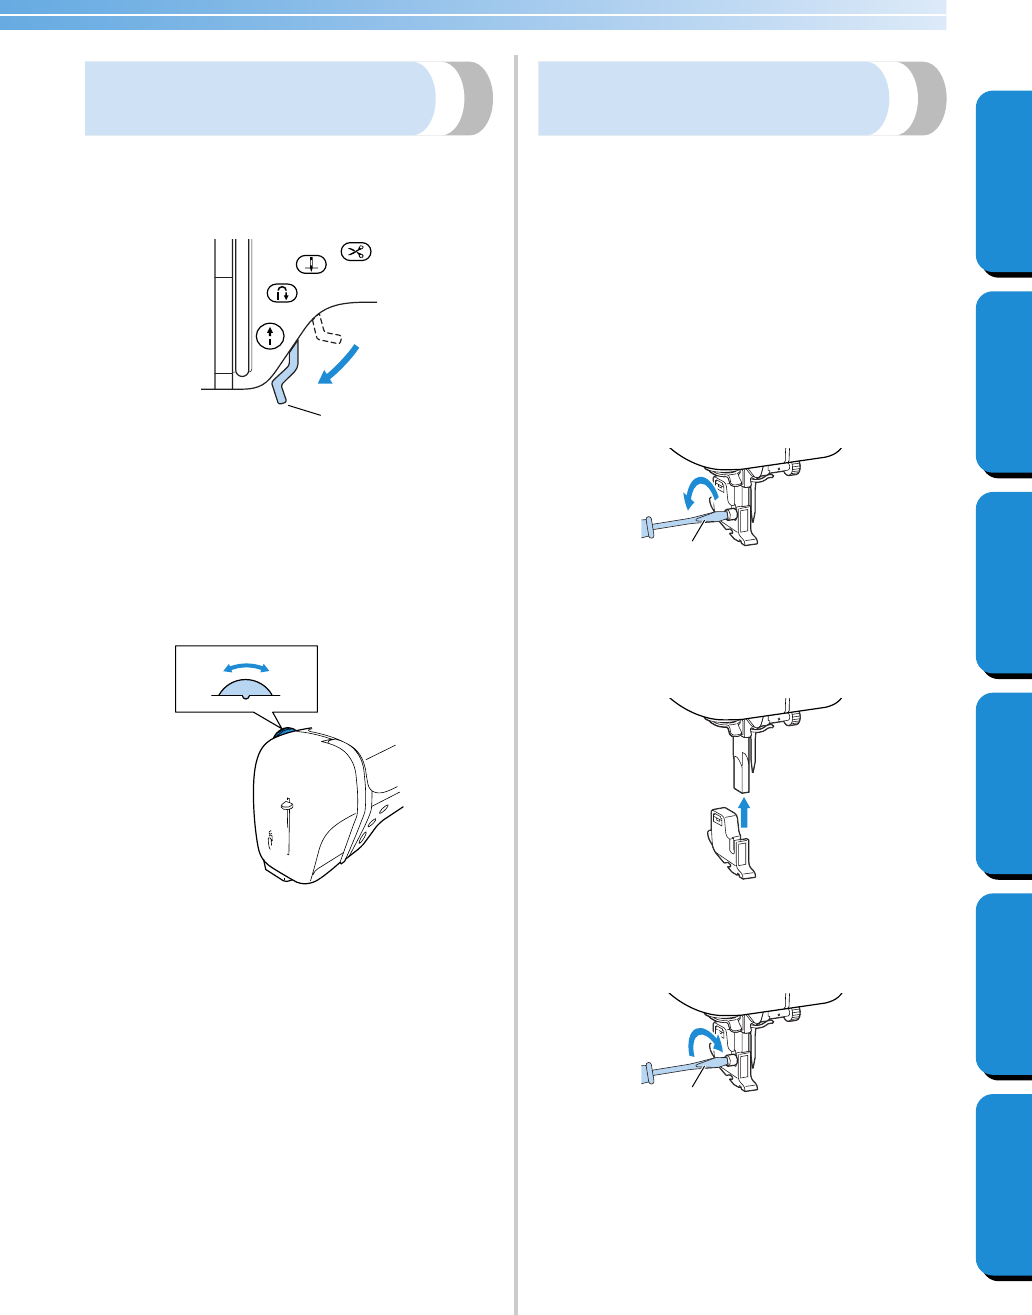
2
Use the screwdriver to loosen the presser foot
holder screw.
1 Screwdriver
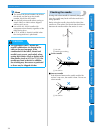
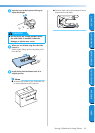
■ Attaching the presser foot holder
1
Align the presser foot holder with the lower-
left side of the presser bar.
2
Hold the presser foot holder in place with
your right hand, and then tighten the screw
using the screwdriver in your left hand.
1 Screwdriver
1
3
Weak
Strong
1
1


Find Your Products By Category
- Lawn and Garden
- Computer Equipment
- TV and Video
- Laundry Appliance
- Kitchen Appliance
- Car Audio and Video
- Automotive
- Photography
- Fitness & Sports
- Personal Care
- Communications
- Home Audio
- Portable Media
- Musical Instruments & Equipment
- Baby
- Household Appliance
- Cell Phone
- Marine Equipment
- Outdoor Cooking
- Power Tools
- Video Game
Please Login
