
0
Owner's of the Brother Sewing Machine PC-420PRW gave it a score of 0 out of 5. Here's how the scores stacked up:


GETTING READY ——————————————————————————————————————————————————
—
38
GETTING READYCONTENTS SEWING BASICS UTILITY STITCHES APPENDIX INDEX
4
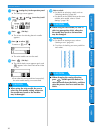
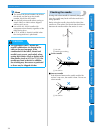
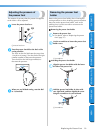
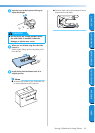
Press the black button at the back of the
presser foot holder.
1 Black button
2 Presser foot holder
X The presser foot holder releases the presser
foot.
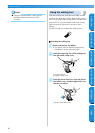
5
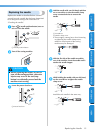
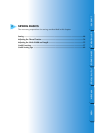
Place a different presser foot below the holder
so that the presser foot pin is aligned with the
notch in the holder.
Position the presser foot so the letter indicating
the presser foot type (A, G, I, J, M, N or R) is
positioned to be read.
1 Presser foot holder
2 Notch
3 Pin
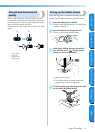
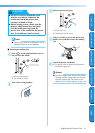
6
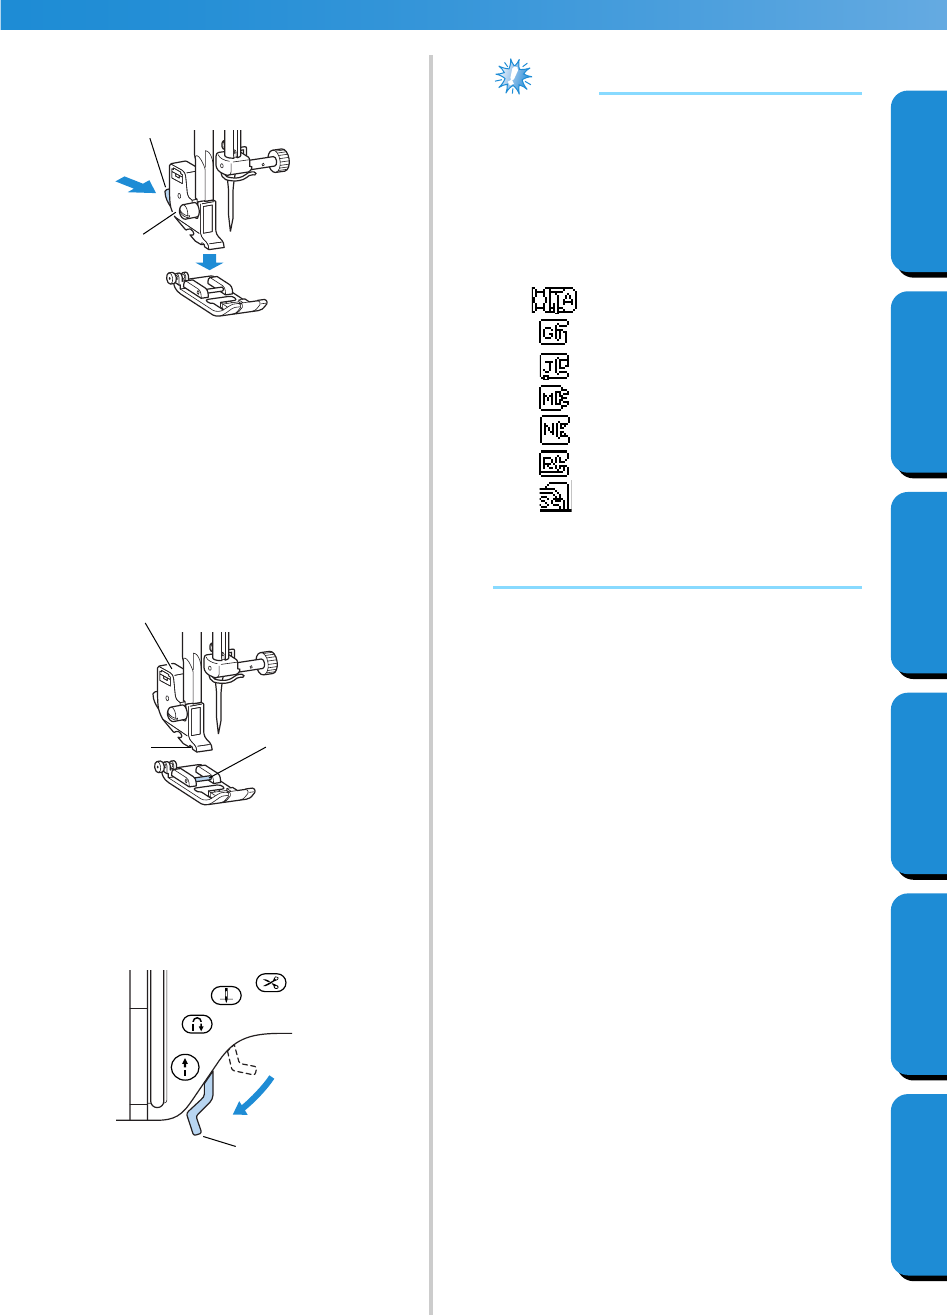
Slowly lower the presser foot lever so that the
presser foot pin snaps into the notch in the
presser foot holder.
1 Presser foot lever
X The presser foot is attached.
7
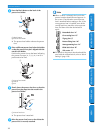
Raise the presser foot lever to check that the
presser foot is securely attached.
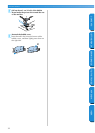
Note
● When a stitch is selected, the icon for the
presser foot that should be used appears in
the screen. Check that the correct presser
foot is attached before starting to sew. If the
wrong presser foot is installed, turn off the
sewing machine, attach the correct presser
foot, and then select the desired stitch
again.
Buttonhole foot “A”
Overcasting foot “G”
Zigzag foot “J”
Button fitting foot “M”
Monogramming foot “N”
Blind stitch foot “R”
Side cutter “S”
● For details on the presser foot that should be
used with the selected stitch, refer to “Stitch
Settings” (page 128).
1
2
1
2
3
1


Find Your Products By Category
- Lawn and Garden
- Computer Equipment
- TV and Video
- Laundry Appliance
- Kitchen Appliance
- Car Audio and Video
- Automotive
- Photography
- Fitness & Sports
- Personal Care
- Communications
- Home Audio
- Portable Media
- Musical Instruments & Equipment
- Baby
- Household Appliance
- Cell Phone
- Marine Equipment
- Outdoor Cooking
- Power Tools
- Video Game
Please Login
